The $100 Headboard
by Phil Bruckbauer
The last blog post I covered the building process of an end table, and the excitement and defeat in becoming a favorite grandchild. During my hiatus, I discovered that adulting is hard. If you don’t know me well, one could say that my procrastination level would be described as epic bordering on pathetic. My only saving grace is that my brother, Danny, is such a bigger putz than me that I don’t come off so bad. It seems to be my nature to complete something only to the point of functional and call it ‘good enough’. A trait that frustrates the people I work with, though I can’t seem to figure out why. An example, you ask? Well, I moved into a new apartment in July, with plans of building a bed frame, headboard, and bookshelves to decorate the room. I got as far as the bed frame. The paintings and photos are still sitting in the corner of the room where I set them on move-in day. It turns out that after a long day of work, going out with your friends is more fun than staying late and building shelves.
However, 2017 has brought on some new goals personally and at Grain Designs as well, and with that has come the resurgence of the blog. I decided this to be the perfect chance to get two birds stoned at once, by completing my headboard and writing a blog at the same time. I wanted to build something so affordable and simple to build that literally anyone with $100 and a few hours of spare time can do it. So here goes a “how-to” on the $100 headboard.
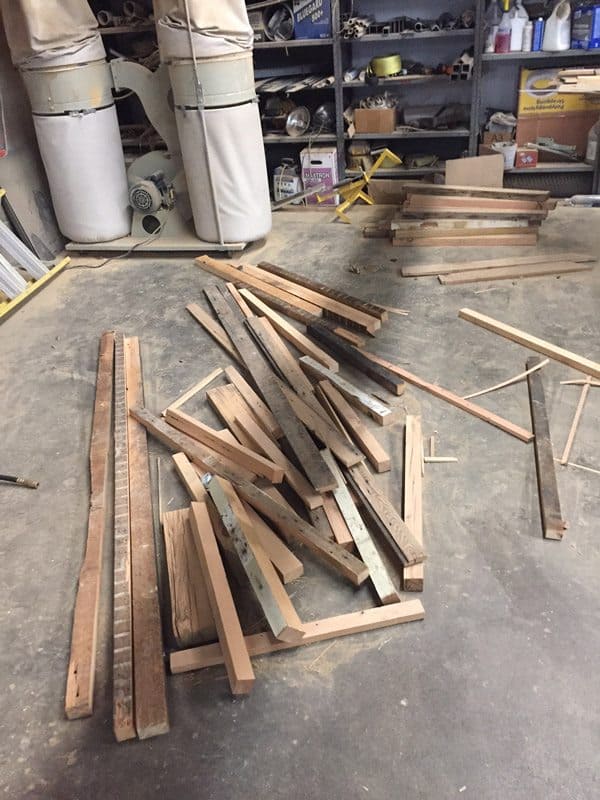
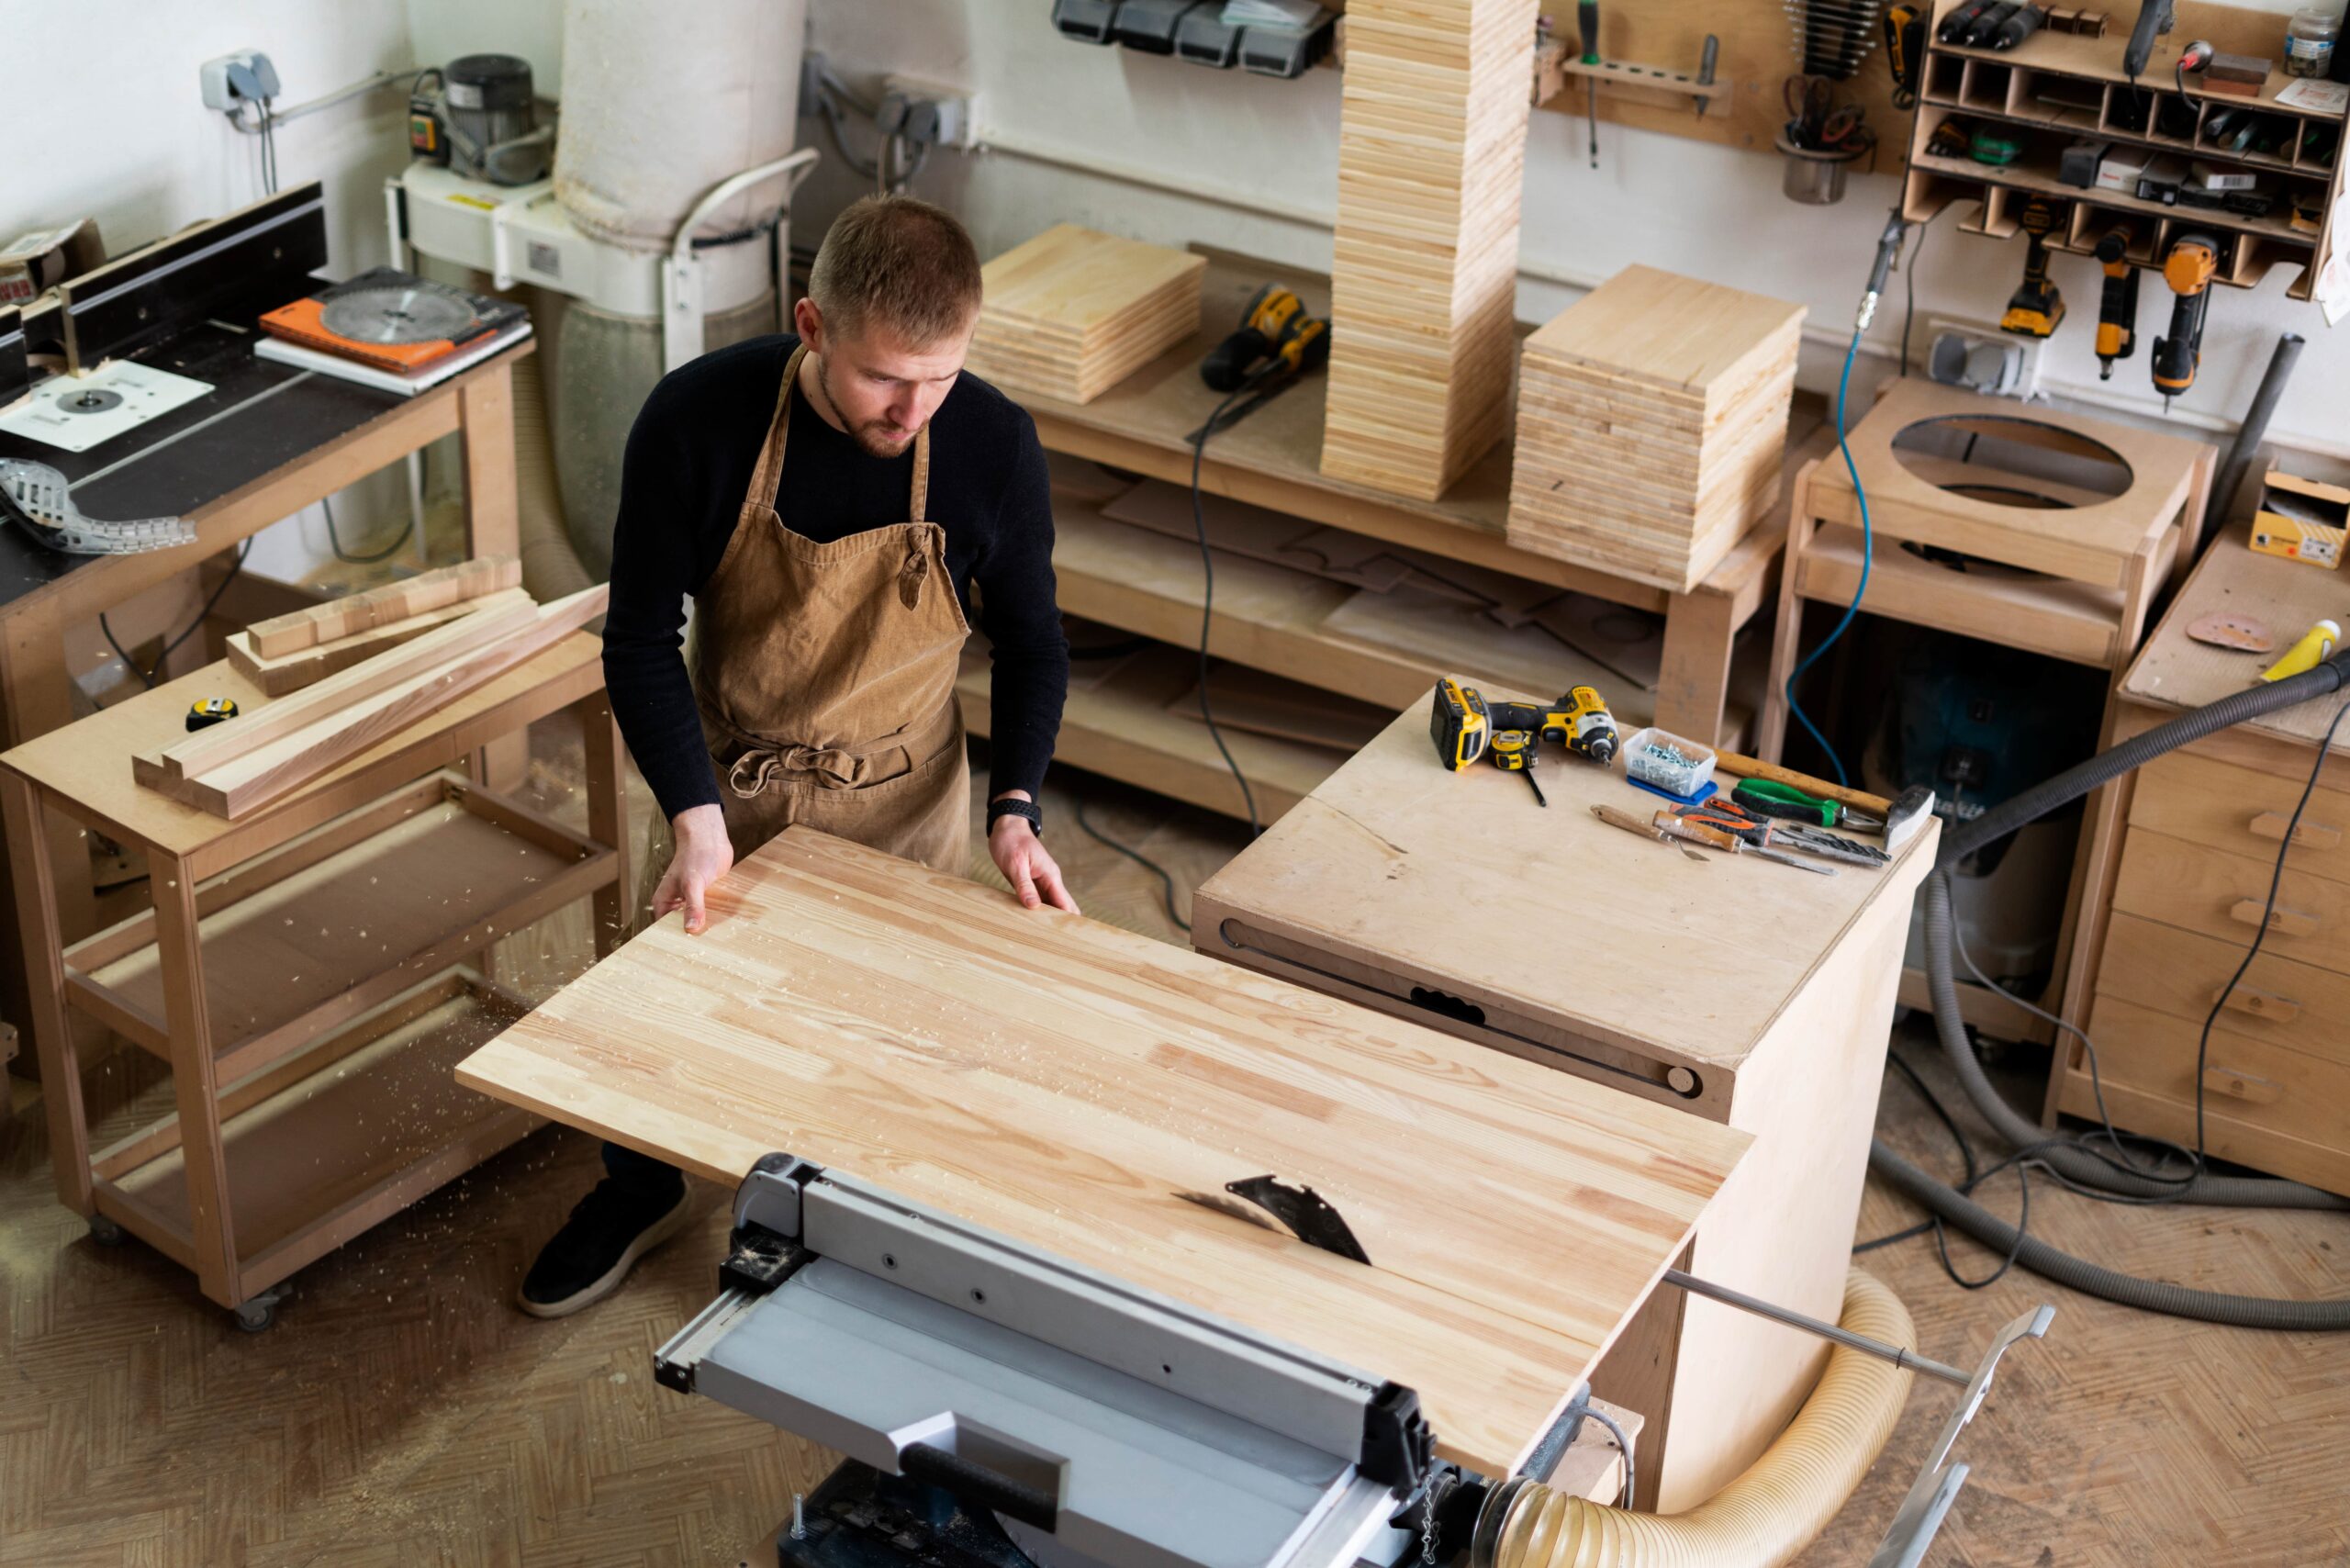
My goal was to build a simple, sleek, low profile headboard cost effectively and relatively quickly, all while documenting the process in order to be able to instruct you, the audience to recreate it. In terms of materials needed, I used primarily scrap materials from around the shop and began with 2″ thick scraps and cut them into the desired length for the frame of the headboard. For your frame, a simple 2×4 frame could be constructed in a similar fashion. (At the bottom of this blog I have added all of the materials necessary to build the headboard.)
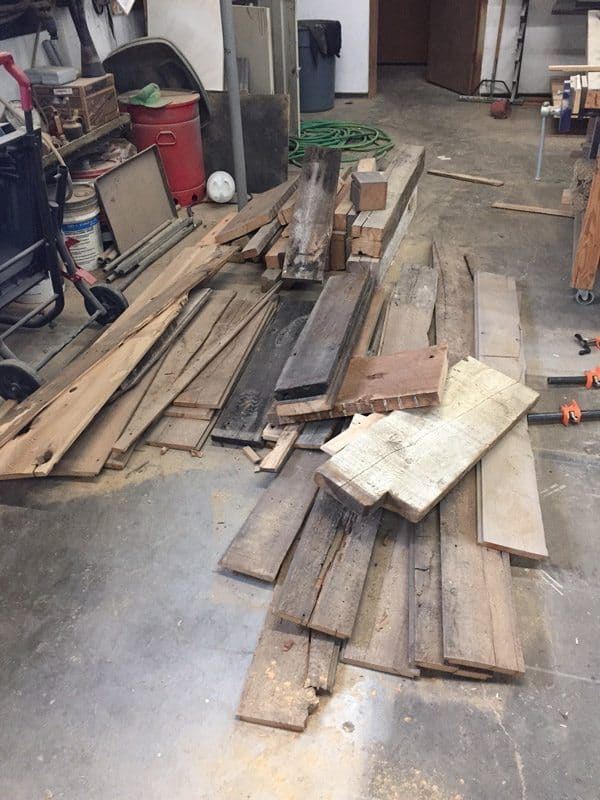
Again I decided to use scrap material that we had laying around the shop in order to cover the frame of the headboard. Often times there are pieces of 1″ material that we use to build doors that have holes or cracks in them that we cant use to build out of, however there is usually enough good material in a board to cut out the holes/cracks and still use it for a smaller project.
- Always try to keep useable scrap material in order to keep your waste down.
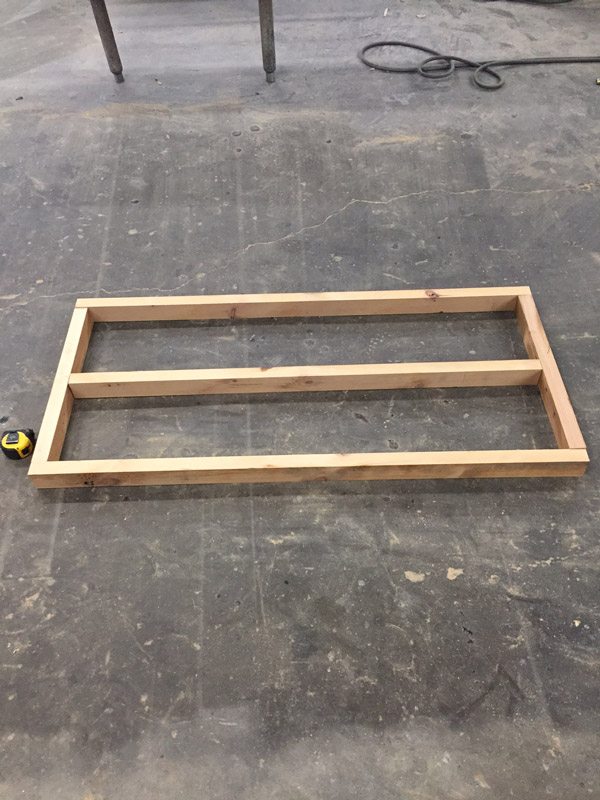
The first step after cutting down your material is to build the rectangle frame of the headboard. Pictured is simply the pieces for the frame laid out to determine that everything fits together well and is square before you begin glueing and screwing it together.

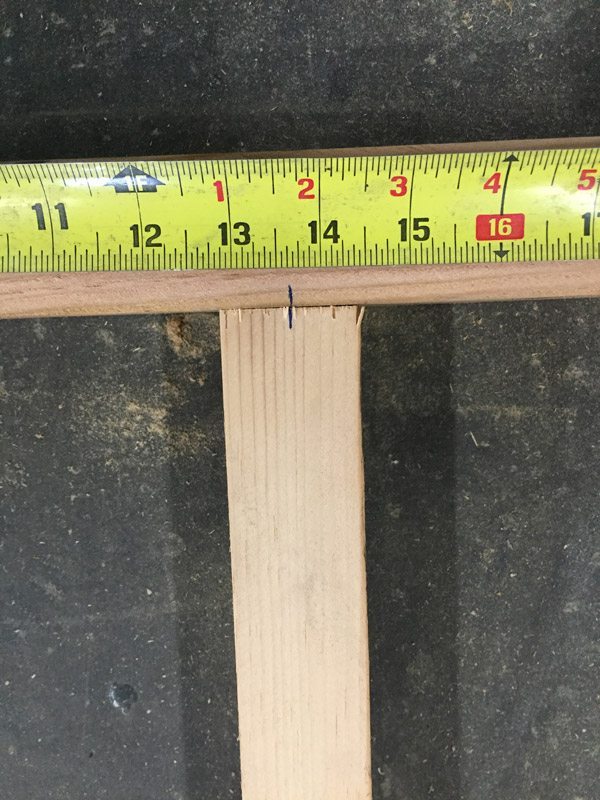
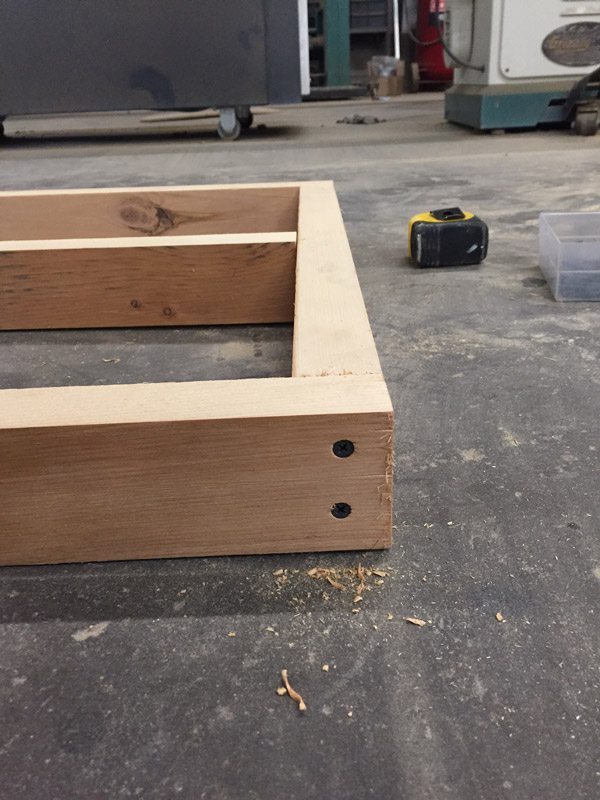
Step 2: Measure out where you want your screws to go in on your top and bottom plate. you want to try to get the screw as close to the center of the board as possible, so you want to measure ~3/4″ in, and around ~1″ down. Begin by pre-drilling with a ~1/8″ drill bit. This ensures that the wood won’t crack when you put the screws in.
*Make sure to use two screws in each board so that it cannot swivel.
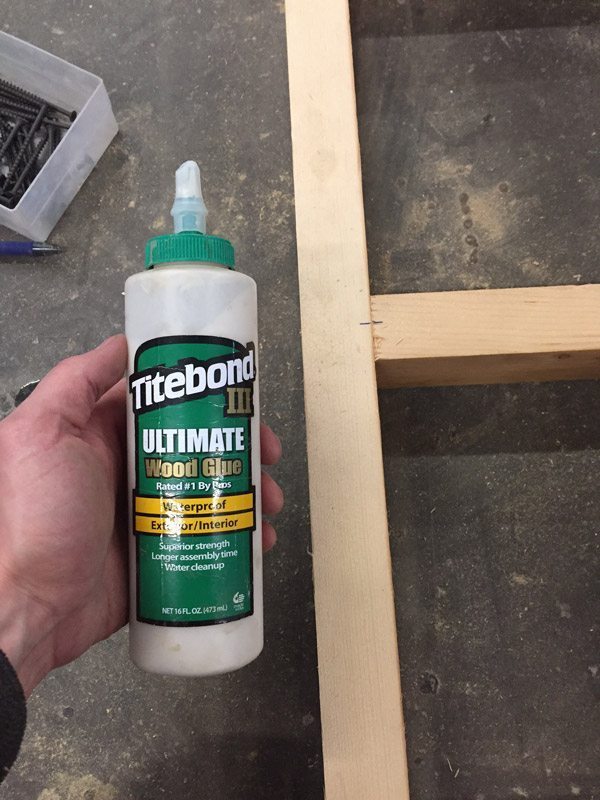
*Spread a thin layer of glue on each joint before you screw it together as well. Titebond III Wood glue is what I would recommend. Speaking from experience, I can tell you that it is extremely strong and will ensure that your frame is solid.
Step 3: Add a center brace inside the rectangle frame. This step simply gives you some extra support to nail your boards to so that the headboard is solid and doesn’t flex when you lean against it. Measure the center point on each side of the frame, and also on each end of the center brace. Then line up the two lines and you will guarantee that you have the frame square. Glue and screw the center brace just as you did with the frame.
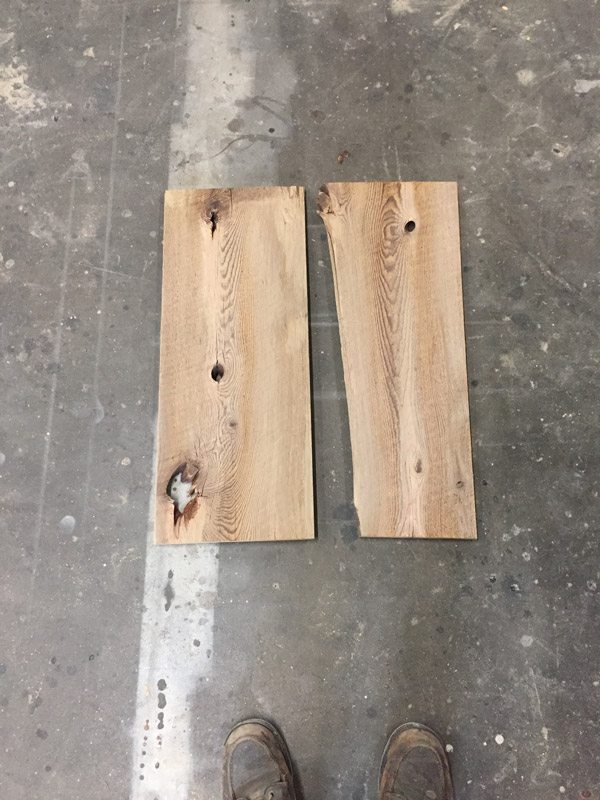
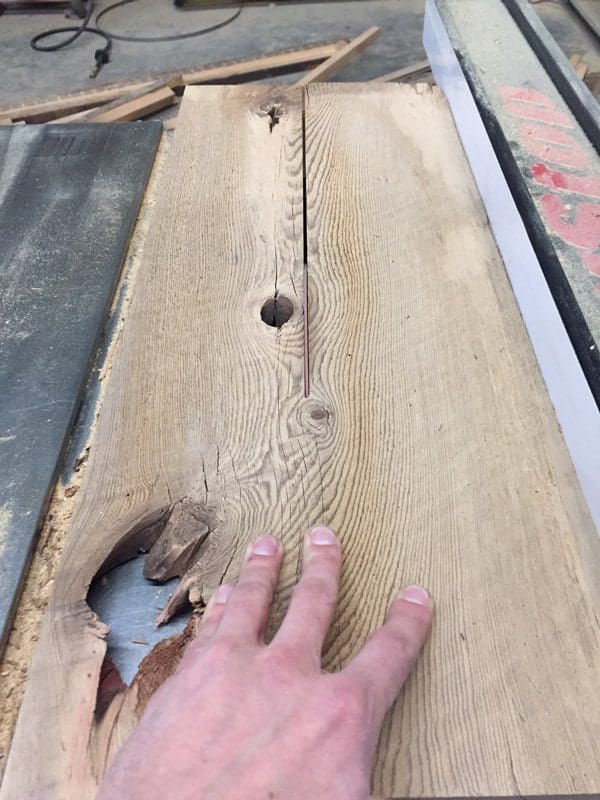
Here we have an example of a couple boards that may not have been able to be used on another project because of too many holes, but there are ways that I can use them for this one. On the left, I used the right half of the board, and cut out the holes. On the right, I knew that the bottom few inches of my headboard would be covered by the mattress, so I was able to keep the board with the knot hole and put it on the bottom side of the headboard.
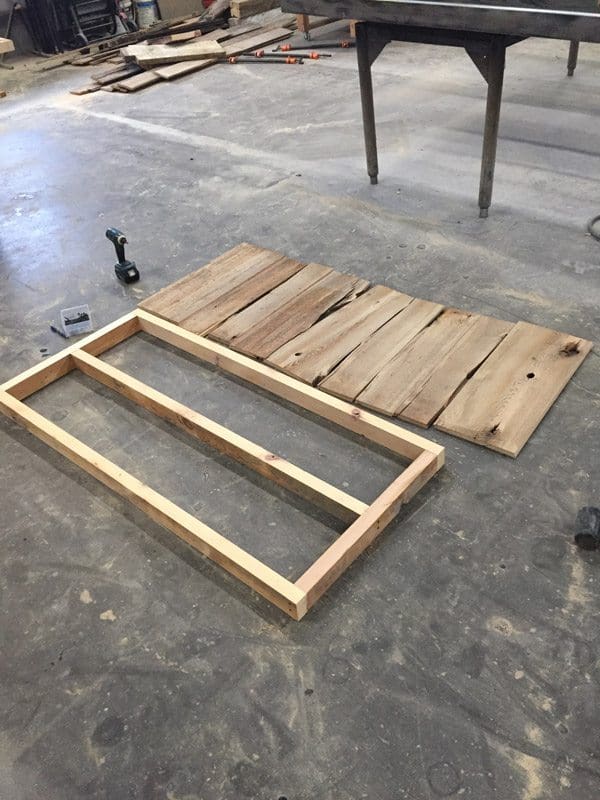
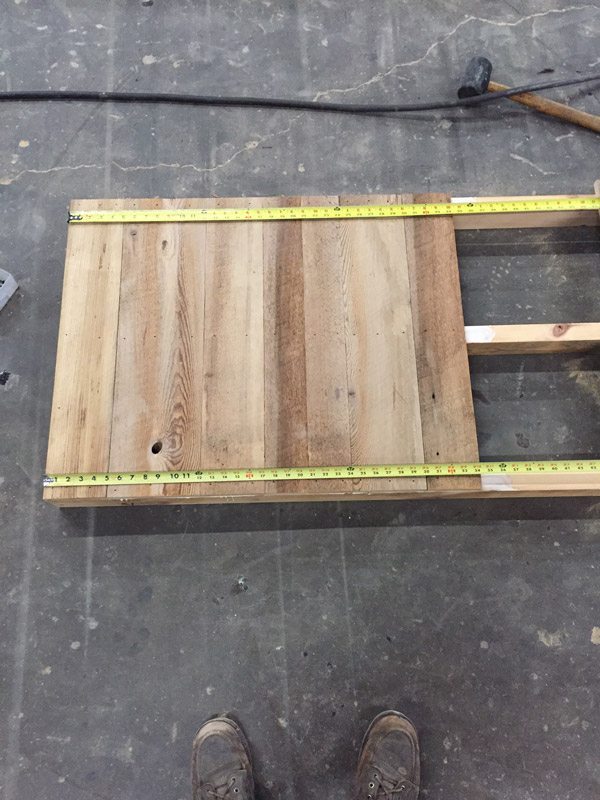
Once you have your frame built, measure the height of the frame and cut your boards to the height of the frame. In my case the height was 27 1/4″ which is relatively short. This is the low profile look I wanted but you can build your headboard to any size/height with a little extra lumber.
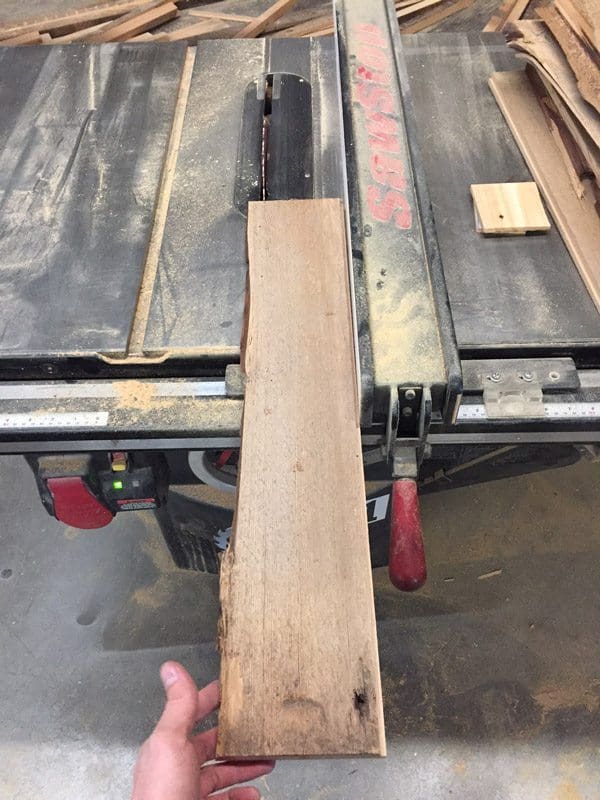
Step 4: If available, using a table saw, cut down your boards to your desired width. In my case, I wanted the widths all different, so I made them all the maximum width that they could be. My widest was ~ 11″ and narrowest ~3″.
Again, If you have one available, use a table saw to cut down your boards, maximizing the amount of useable material by cutting out the holes.
Step 5: Start nailing the boards to your frame. I chose to use a 16 gauge brad nailer, as it makes the smallest holes and is less noticeable than screws or nails. As a rule of thumb, you typically don’t want to see fasteners (screws,bolts,nails etc.) on your furniture. The exception would be when you’re using the fastener as a part of the decoration. So in the case of our headboard, many people like the rustic look of using visible nails to fasten the boards to the frame. This is completely personal preference, and both nails or brad nails look good.
- Use a tape measure to double check that you are square/even on the top and bottom of your frame periodically throughout the nailing of the boards.

- No matter how many times you’ve used a brad nailer, don’t think you’re too experienced to shoot yourself in the finger with a nail.
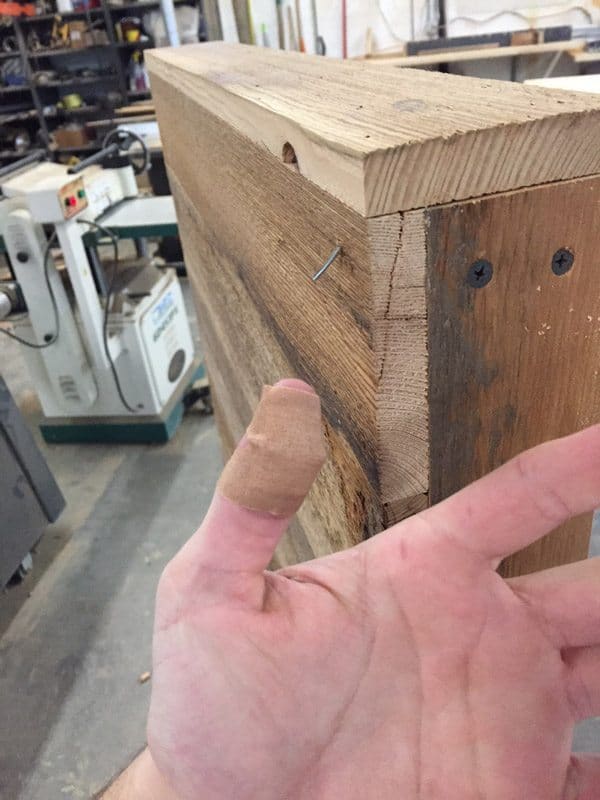
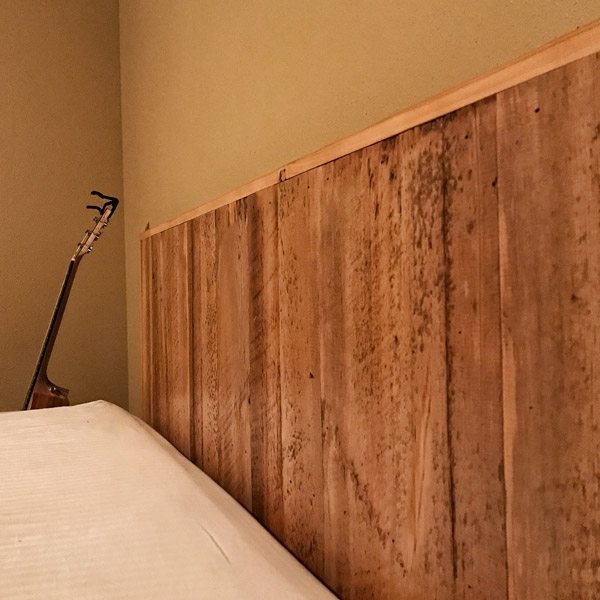
Step 6: Add your two side caps and top cap (trim) so that you cover up all of the visible parts of the frame. I chose to put the side caps on first and then the top cap on last to go over the entire length of the headboard.
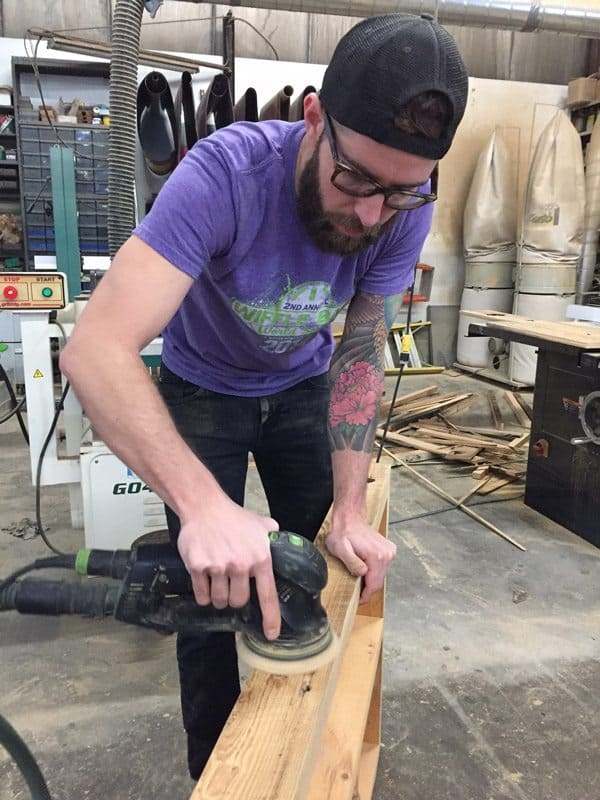
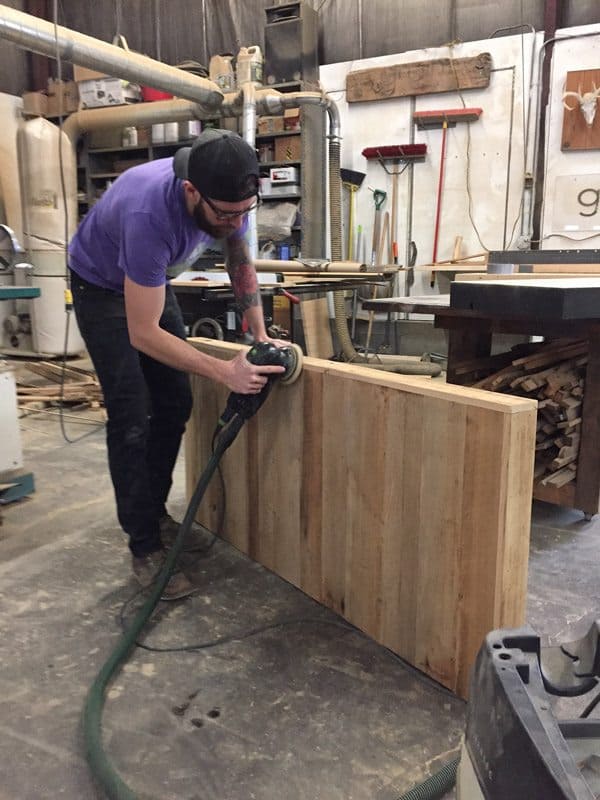
Step 7: Sand the headboard down to your desired look and smoothness. Depending on how rough the wood you are using is, you want to start with either 80 or 120 grit paper and then move down to a 180 or 220 grit to finish it and make it extra smooth.
- I do recommend going up to at least the 180 grit paper, even if it seems smooth enough at 120. One of the main benefits of continuing to go to a higher grit is that it removes the swirls and marks that often come with the lower grit papers.
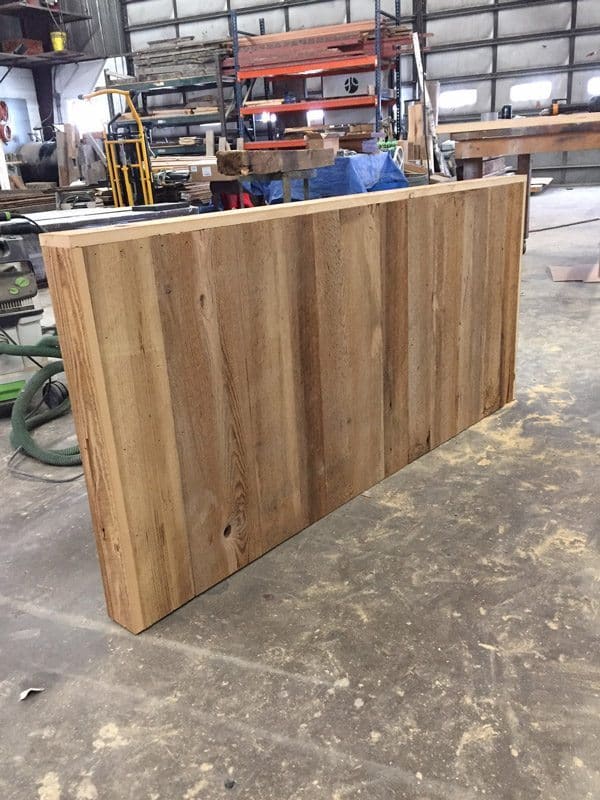
Step 8: This is where another personal decision comes in, in terms of the color of the headboard. Personally, I chose to go with no stain, as this color matches the rest of my bed already, however there are numerous options when it comes to stain or paint that can be found at any local hardware store.
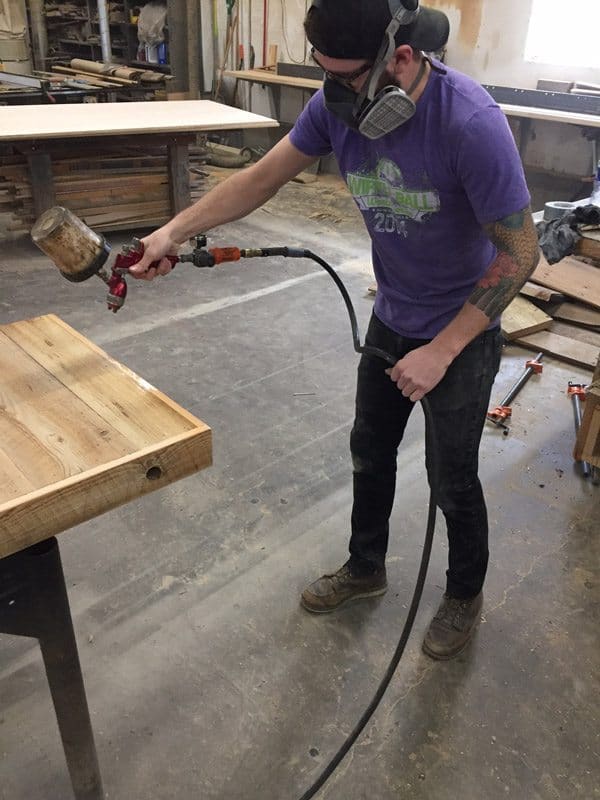
Step 9: Finishing the headboard again is not necessary and is entirely a personal decision. When using reclaimed wood, it is fairly common to have wood that splinters easily, so I decided to finish mine with a low sheen water based polyurethane. This should create a thicker coating that will ensure you don’t get slivers. I had the luxury of being able to spray it on, however I assume most of you will not, so I would recommend buying a water based, brush-on finish. Follow the instructions on the product you buy and administer at least 2-3 coats, sanding with a high grit (320+) paper in between coats.
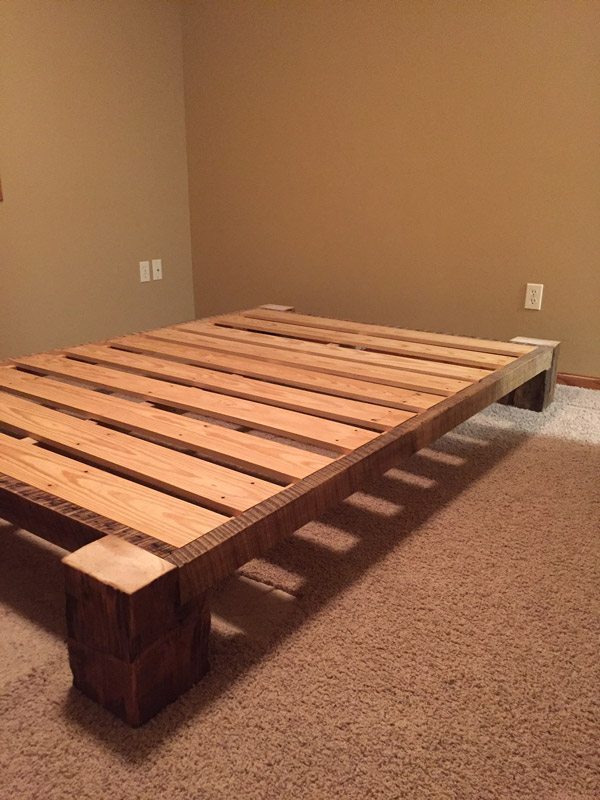
Here is the bed frame that I built months ago, patiently awaiting its counterpart.

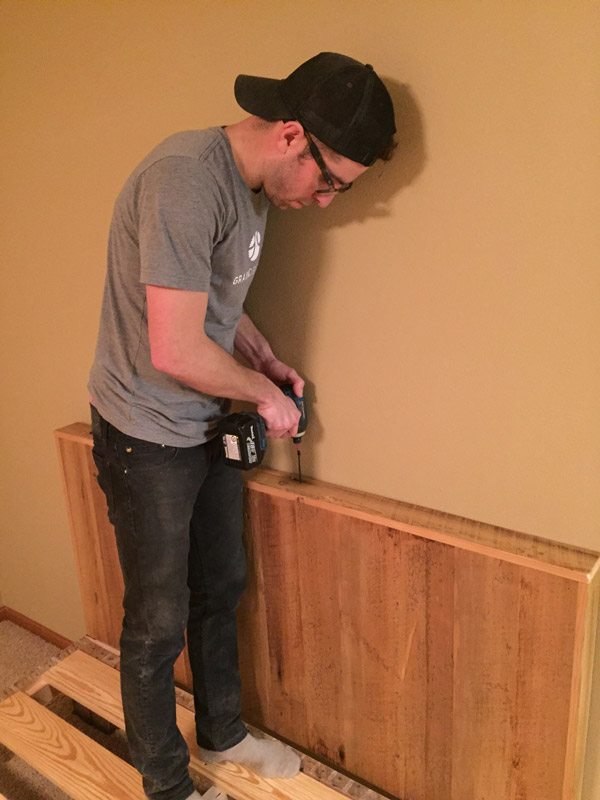
Step 10: Attaching the headboard I built is fairly simple for this bed frame. I set the headboard on top and screwed it down with 3″ screws. I understand that many of you will not have this style of frame, and thus may have to come up with an extension to make your headboard slightly taller.
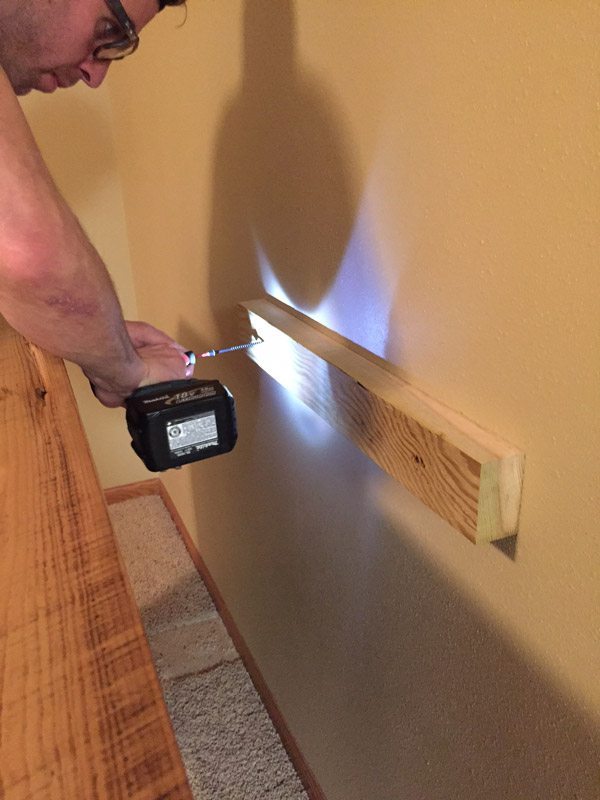
Step11: To attach the headboard to the wall, I chose to use what we call a cleat. Use a ~24″ 2×4, find your studs, and screw the cleat to the studs at the exact height where it slides on the underside of the top of your frame.
Step 12: Slide your headboard against the wall. It should fit almost exactly over the cleat on the wall. You should now be able to screw two 3″ screws straight down and hit your cleat which will secure your headboard to the wall.
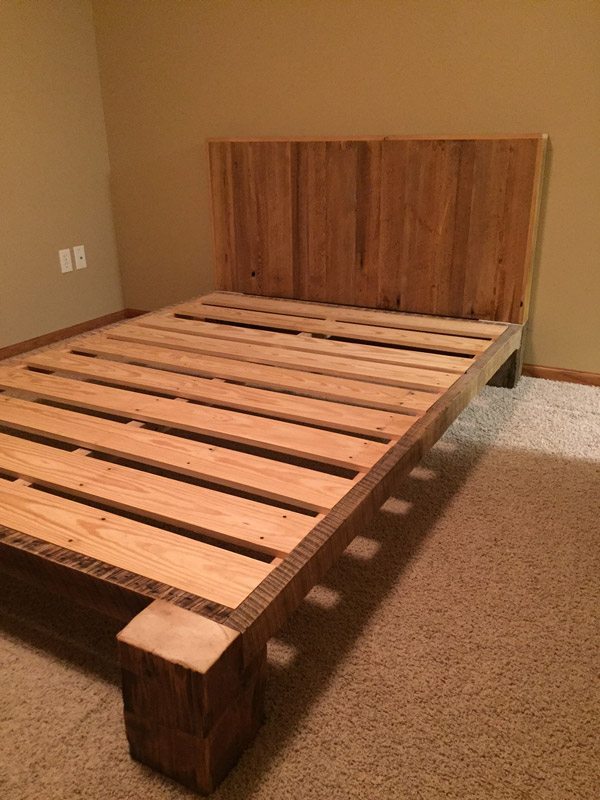
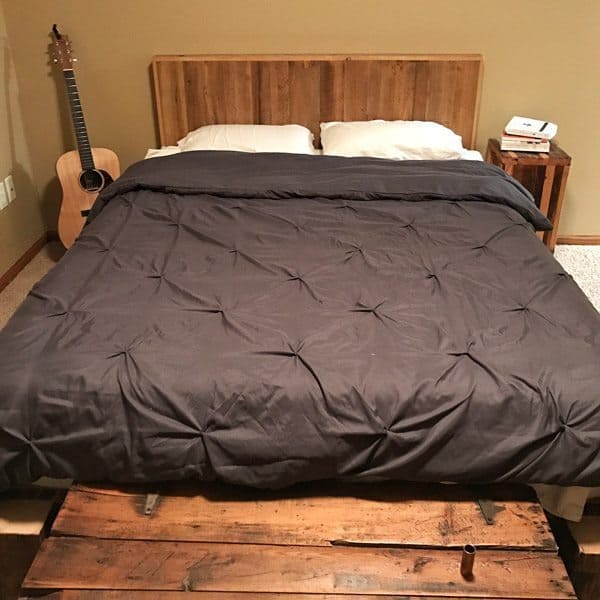
Add a mattress and some sheets and I’m about half of the way to having my room completely set up. If I really get my butt moving and have to write a couple more blog posts, there’s a chance I can get a bookshelf built and pictures hung by the time our lease is up.
This isn’t a detailed breakdown of materials with pricing. In fact, the claim that this was a $100 headboard was likely a high calculation. Assuming you have a few basic tools, the cost of materials to make a similar custom headboard should easily be under $100.
Tools/Materials needed:
-2×4 @8′
-1×6@8′
-1×4@8′
-2″ Brad nails or nails/hammer
-3″ screws
-Titebond III Wood glue
Tools/Materials Recommended
-Brush-on Polyurethane (optional)
-Paint Brush (optional)
-Sandpaper – 80 or 120, 220, and 320 grit
-Stain(optional)
-Foam brush for stain (optional)
-Cotton Rag or old t-shirt for stain (optional)