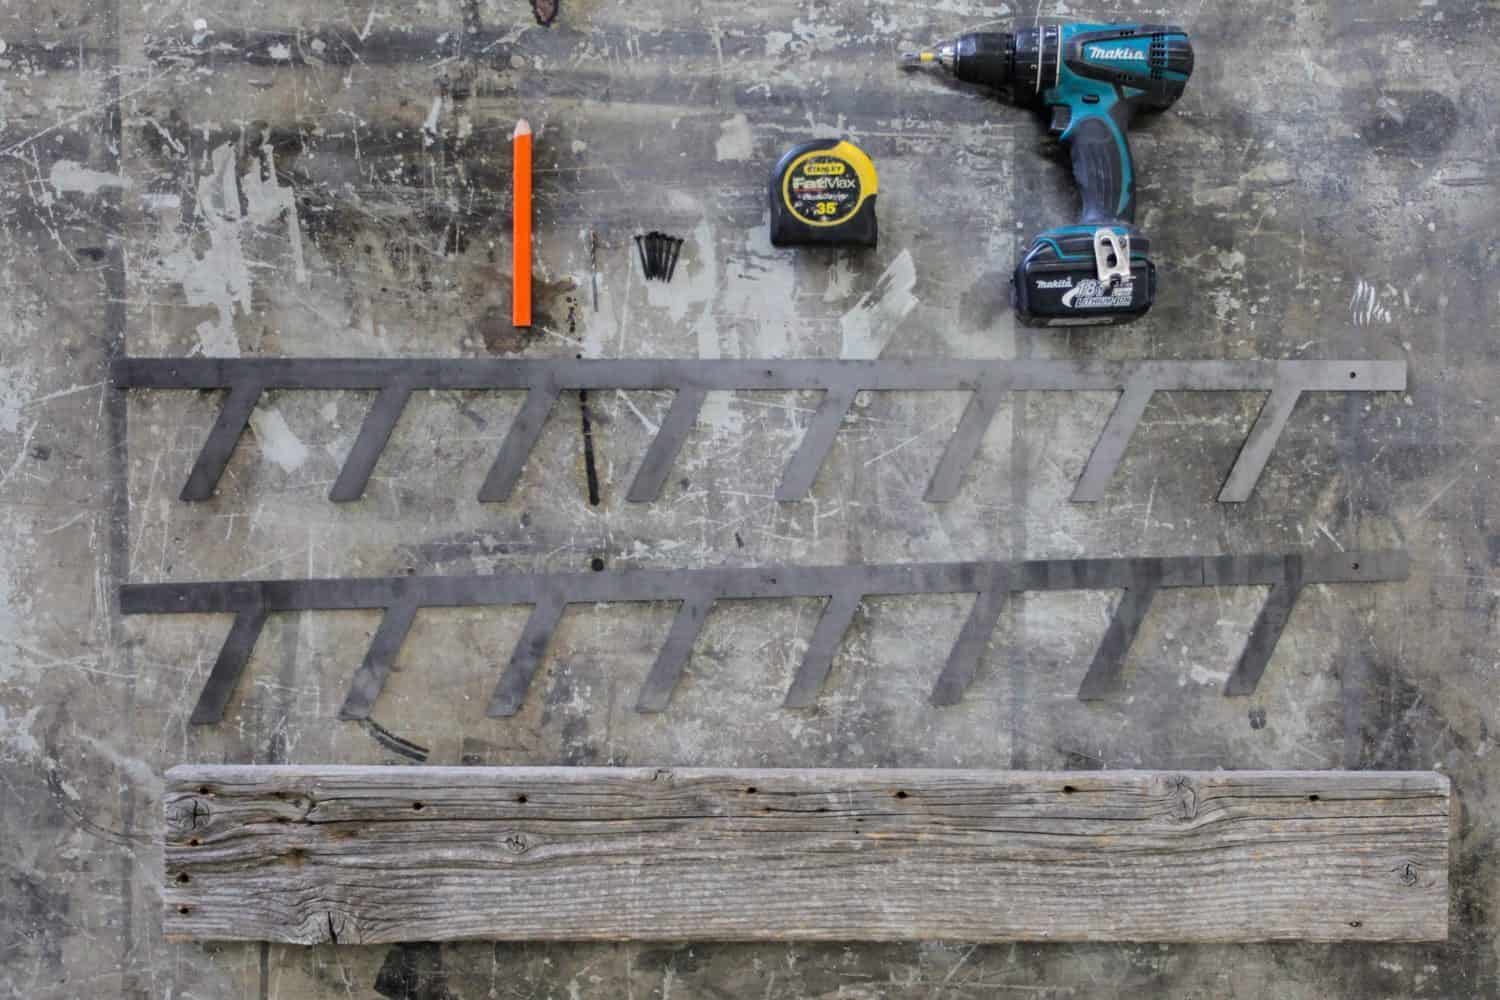
Tools Required:
Drill, Tape Measure, Pencil, 1/16” Drill Bit, and Phillips Bit.
*You may also need a hand saw or chop saw if your wood isn’t cut to length.
Materials Required:
Your piece of wood – 43” long x 6”-8″ wide.
Included Materials:
Wine rack steel, pan head wine rack screws, wall mounting screws, and assembly instruction manual.
STEP 1
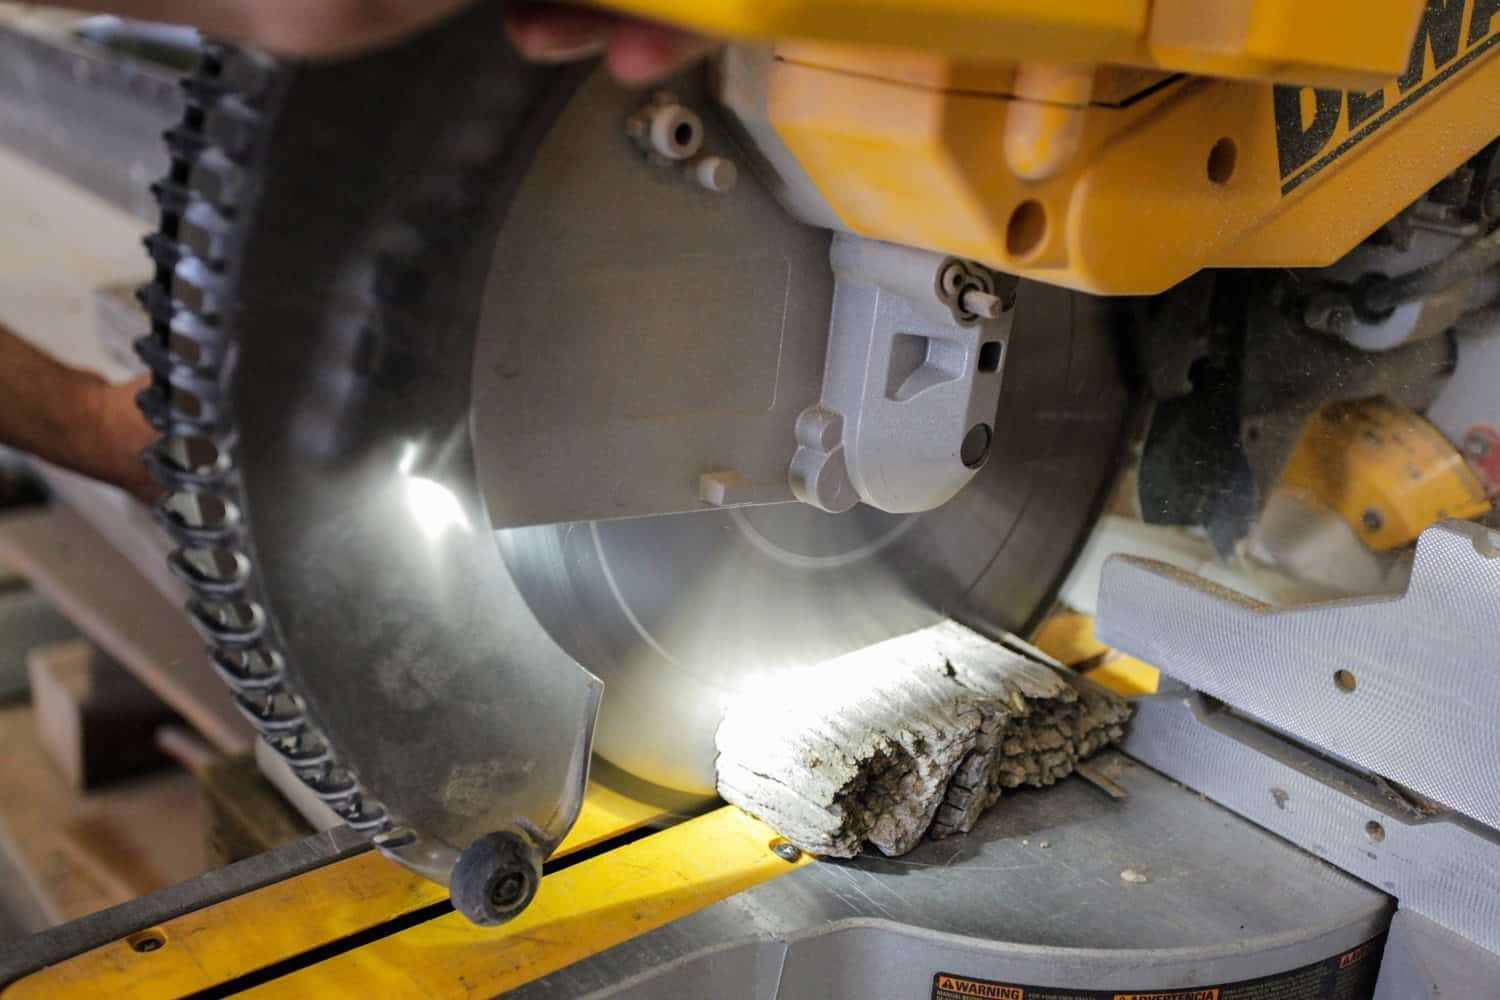
The first step in the wine rack building process is to cut your wood to length to match the provided steel parts. In this case we cut the jagged/worn edge off of our piece of wood to give it a clean-cut edge.
*This step is not necessary if you find a piece of wood that has some unique character that you want to preserve or if the wood is already cut to size.
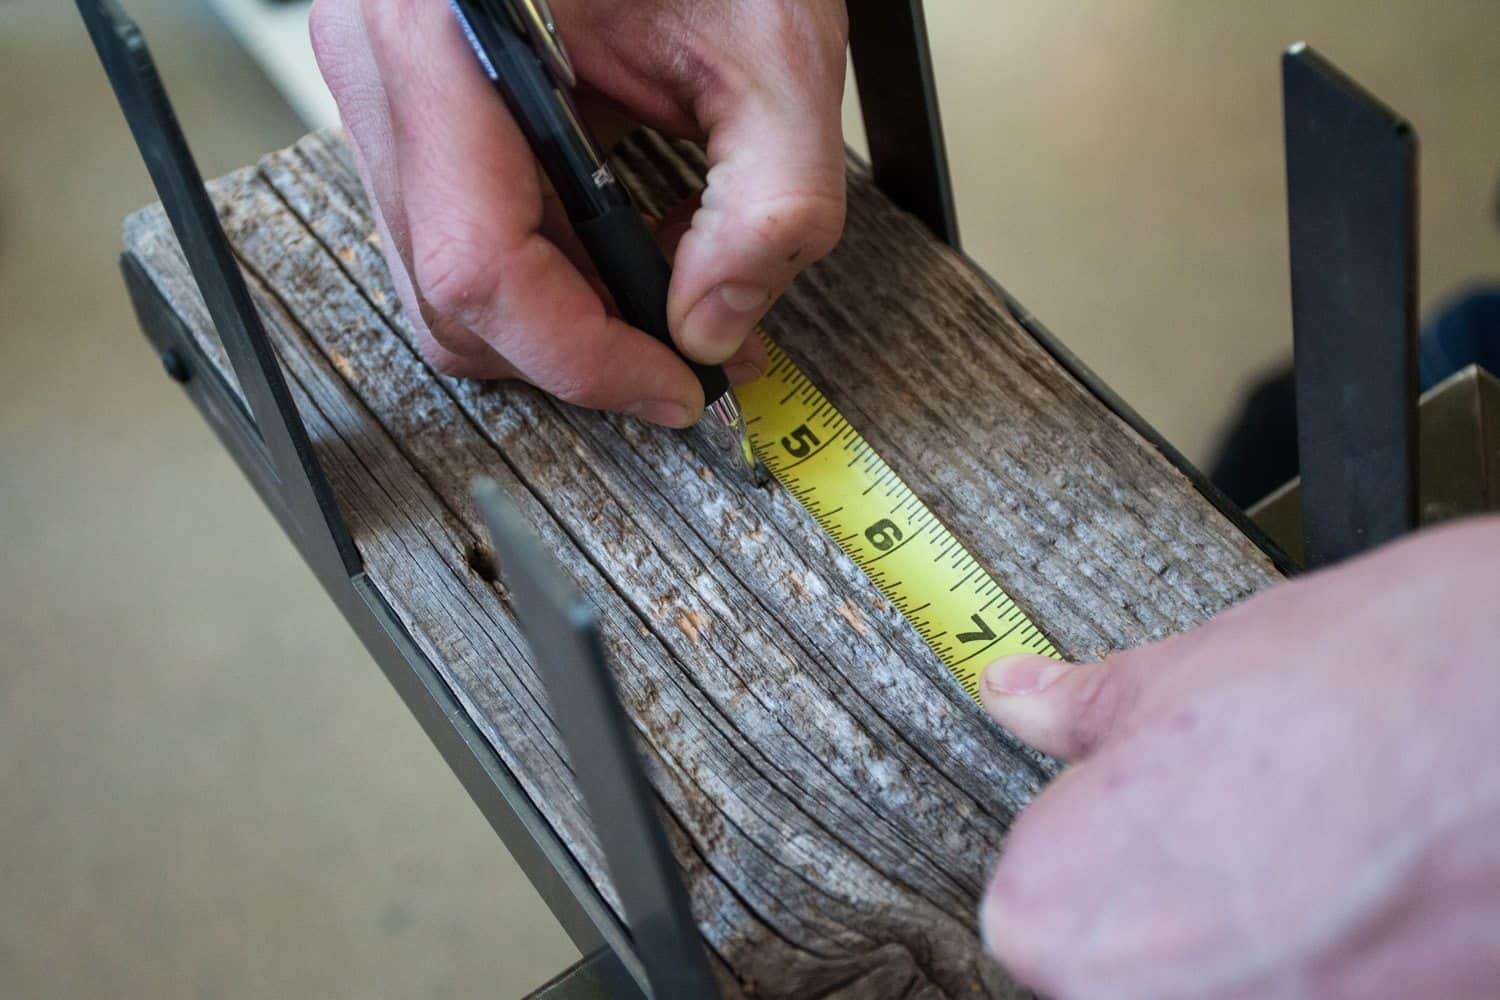
STEP 2
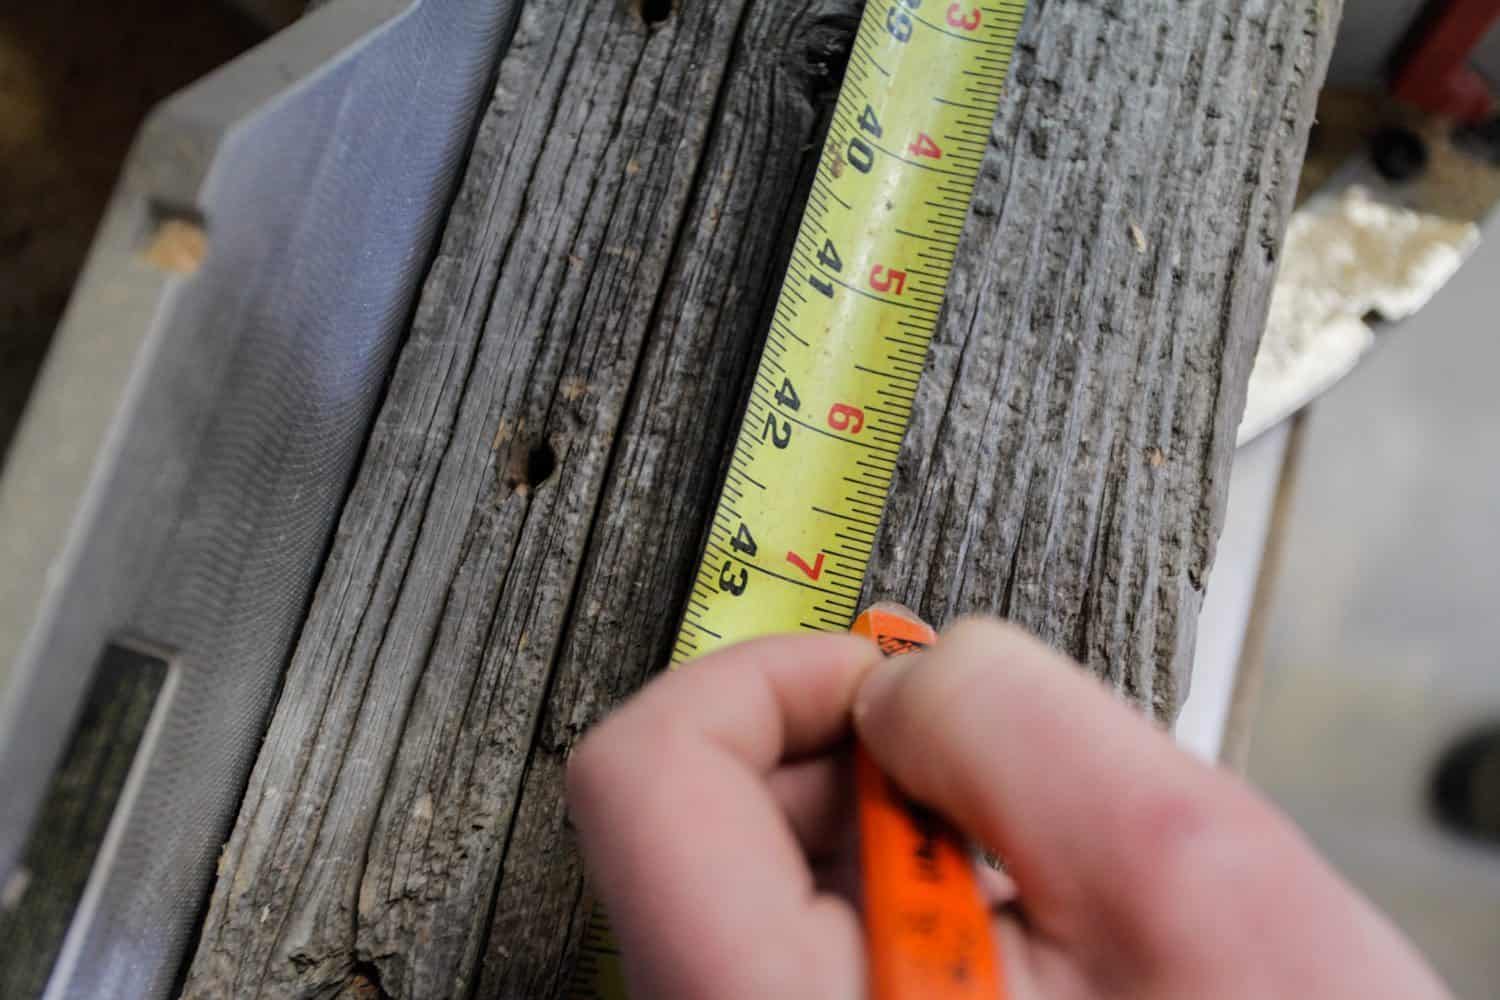
Next, measure over 43” from the freshly cut edge, mark it and cut the board to length.
*Again this step is not necessary if you want the wood to hang past the steel wine rack parts or if you’re wood has already been cut to size.
STEP 2.5 – Bonus Step
Now that your wood is cut to size, this is your chance to flex your do-it-yourself, styling muscles! Feel free to paint, stain, sand, or finish your wood to style your wine rack any way you’d like. Maybe you want to stain the wood to match the tones of your space, or customize it as a wedding gift by painting a name or quote onto the wood. The options in this step are endless and open to your creative explorations!
Set the wood aside and wait for it to dry before proceeding to the next step.
In this case we used a piece of rustic, reclaimed wood with lots of character that we wanted to preserve. We maintained this look by hitting it quickly with a light 180 grit sandpaper just to knock down the real rough edges.
STEP 3
Next, line up one of the provided steel wine rack parts with the center of your wood. In this case the board is slightly wider than the steel so we simply centered the steel on the wood.
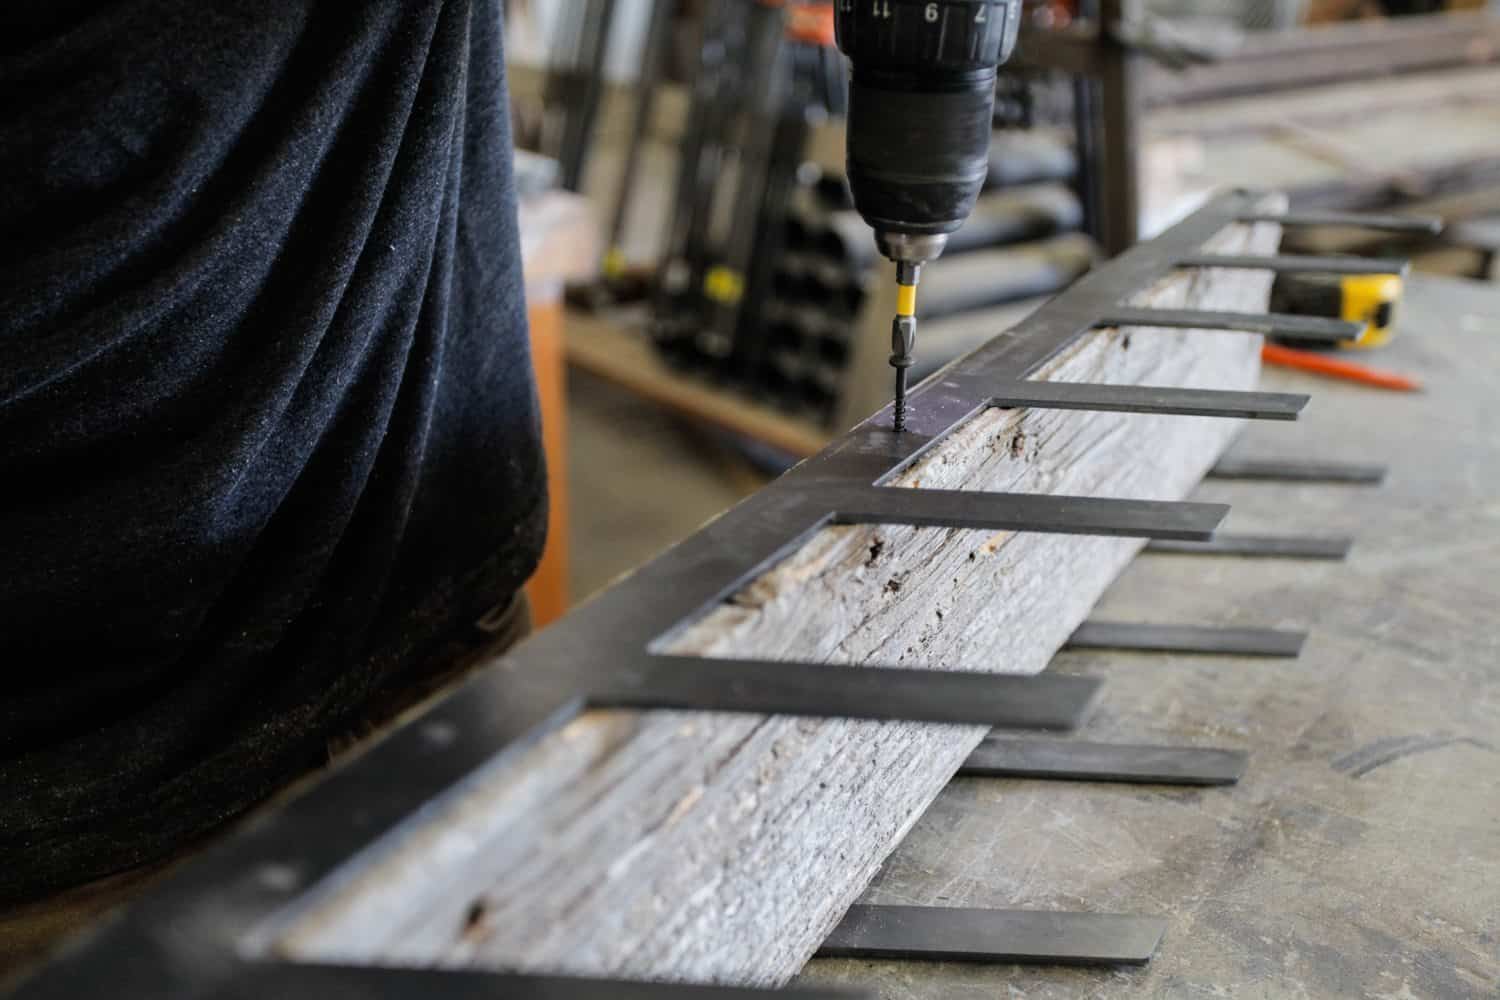
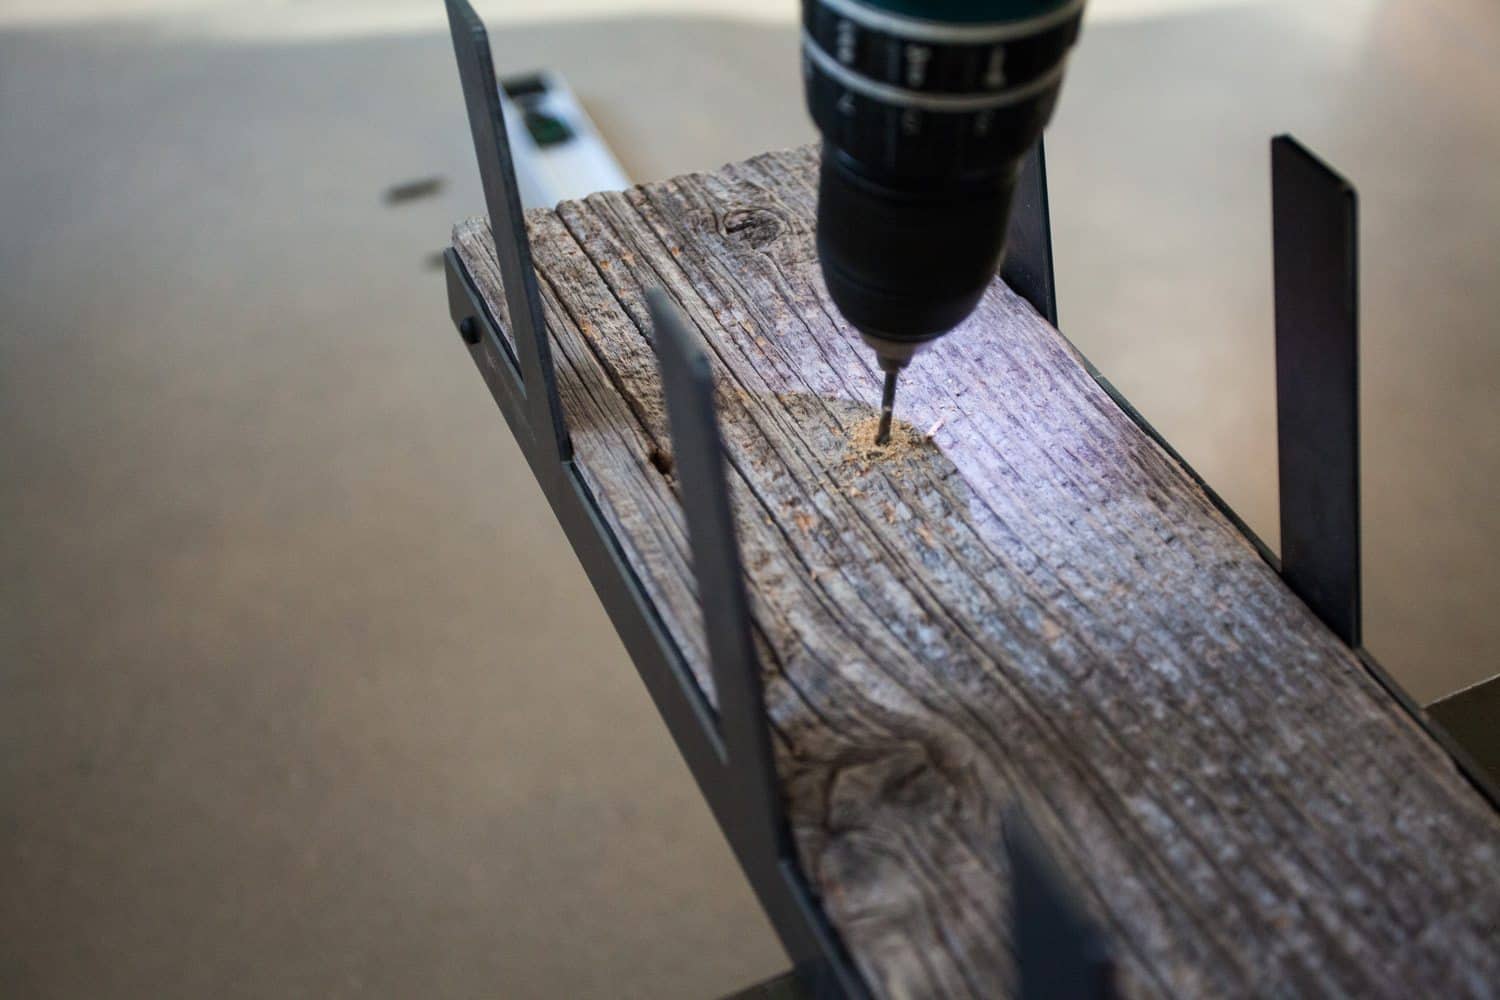
STEP 4
While holding the steel in place, use the precut holes in the steel as a guide to pre-drill holes in wood. There is three holes per side that you’ll want to pre-drill.

*Grain Designs Quick Tip: This step is not always necessary however it will help ensure that the screw gets put in square and will relieve pressure on the wood and help prevent cracking.
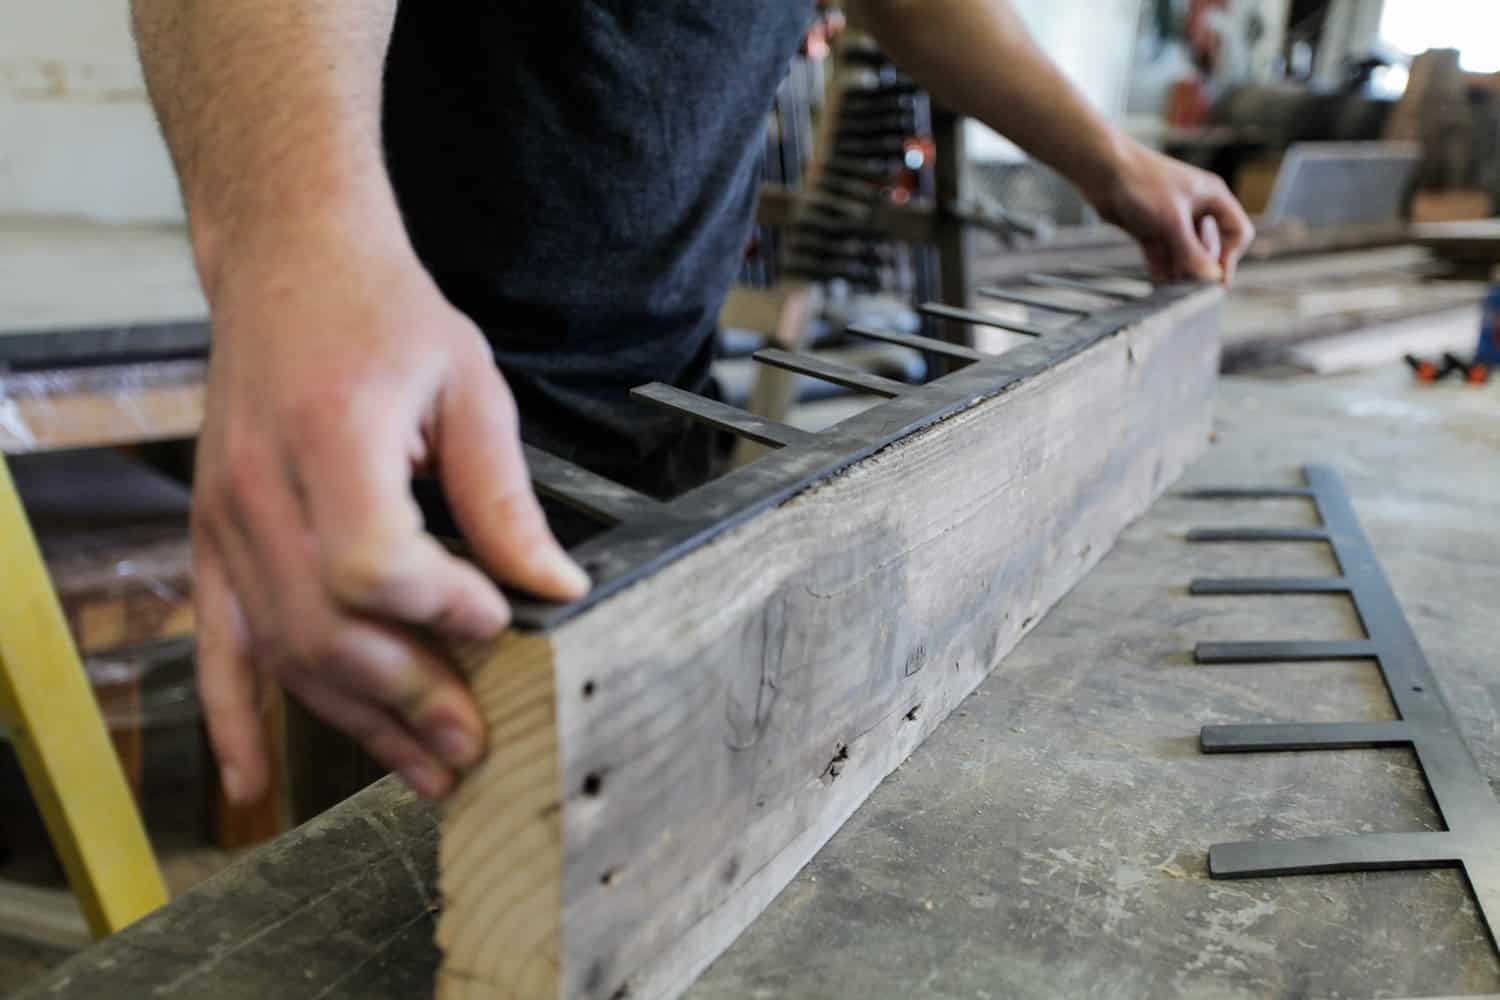
STEP 5
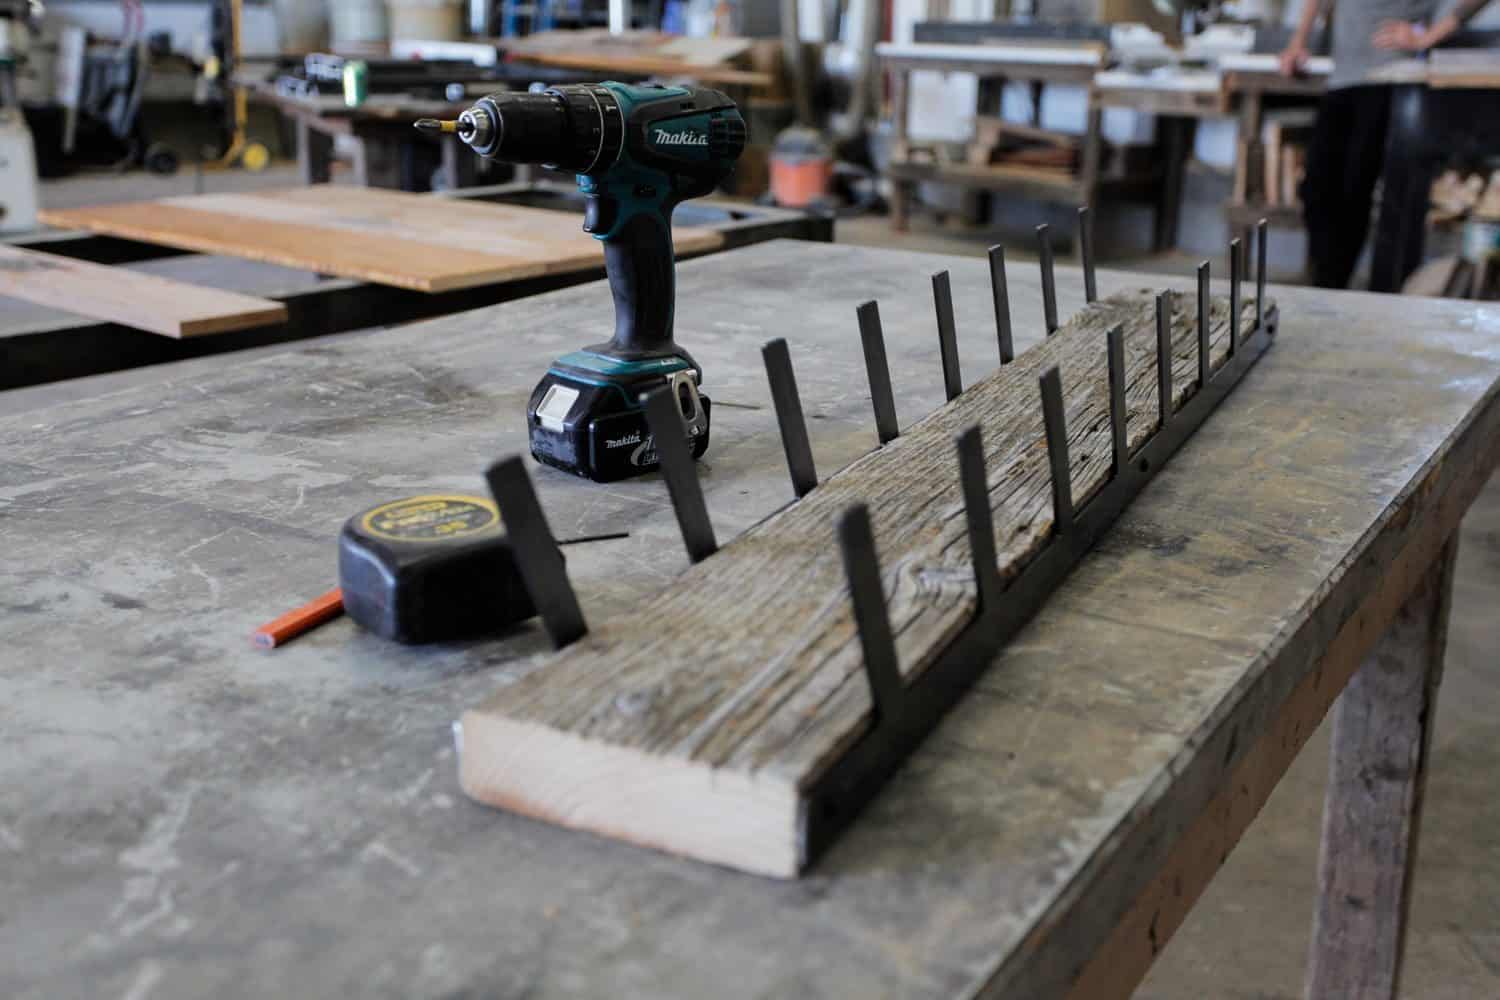
Finally use the provided pan head screws to attach the steel to your piece of wood. Repeat these steps to attach the other side of the wine rack. Ensure the wine rack parts are angled in the same direction as illustrated to function properly.
That’s it! Now, lets put this piece to use.
Install
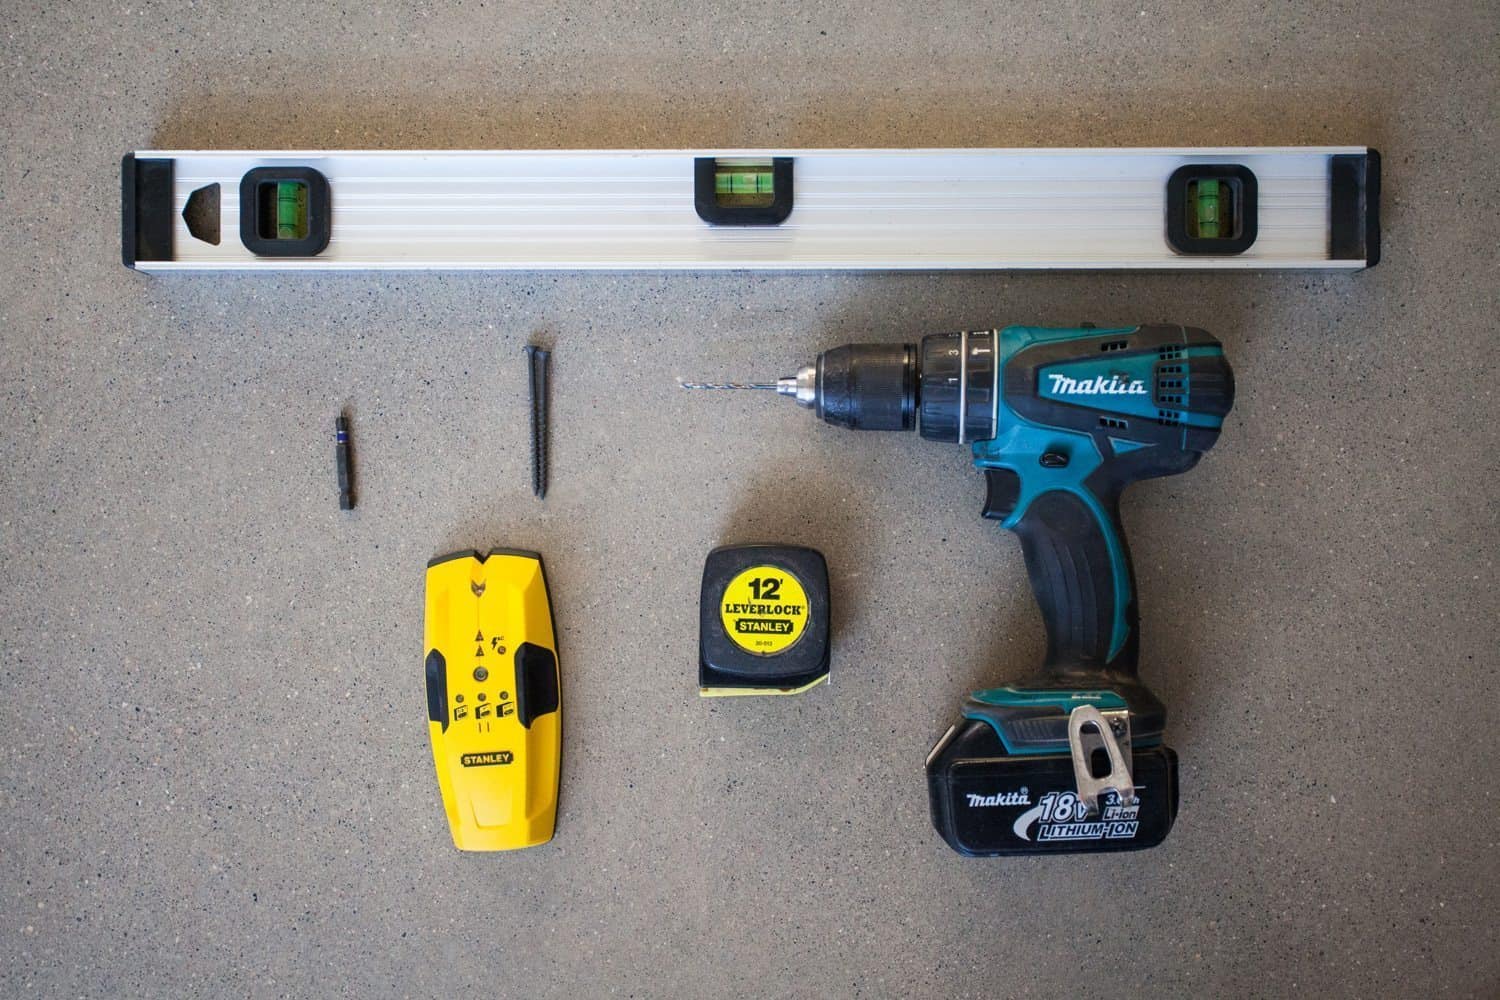
Tools Required:
Drill, 1/8” Drill Bit, Phillips bit, tape measure, level and stud finder
Hardware Included:
Mounting Screws
INSTALL STEP 1:
Measure down 5”-6″ from the top of the wine rack and measure from side to side to center the mark. Repeat this step measuring from the bottom of the wine rack.
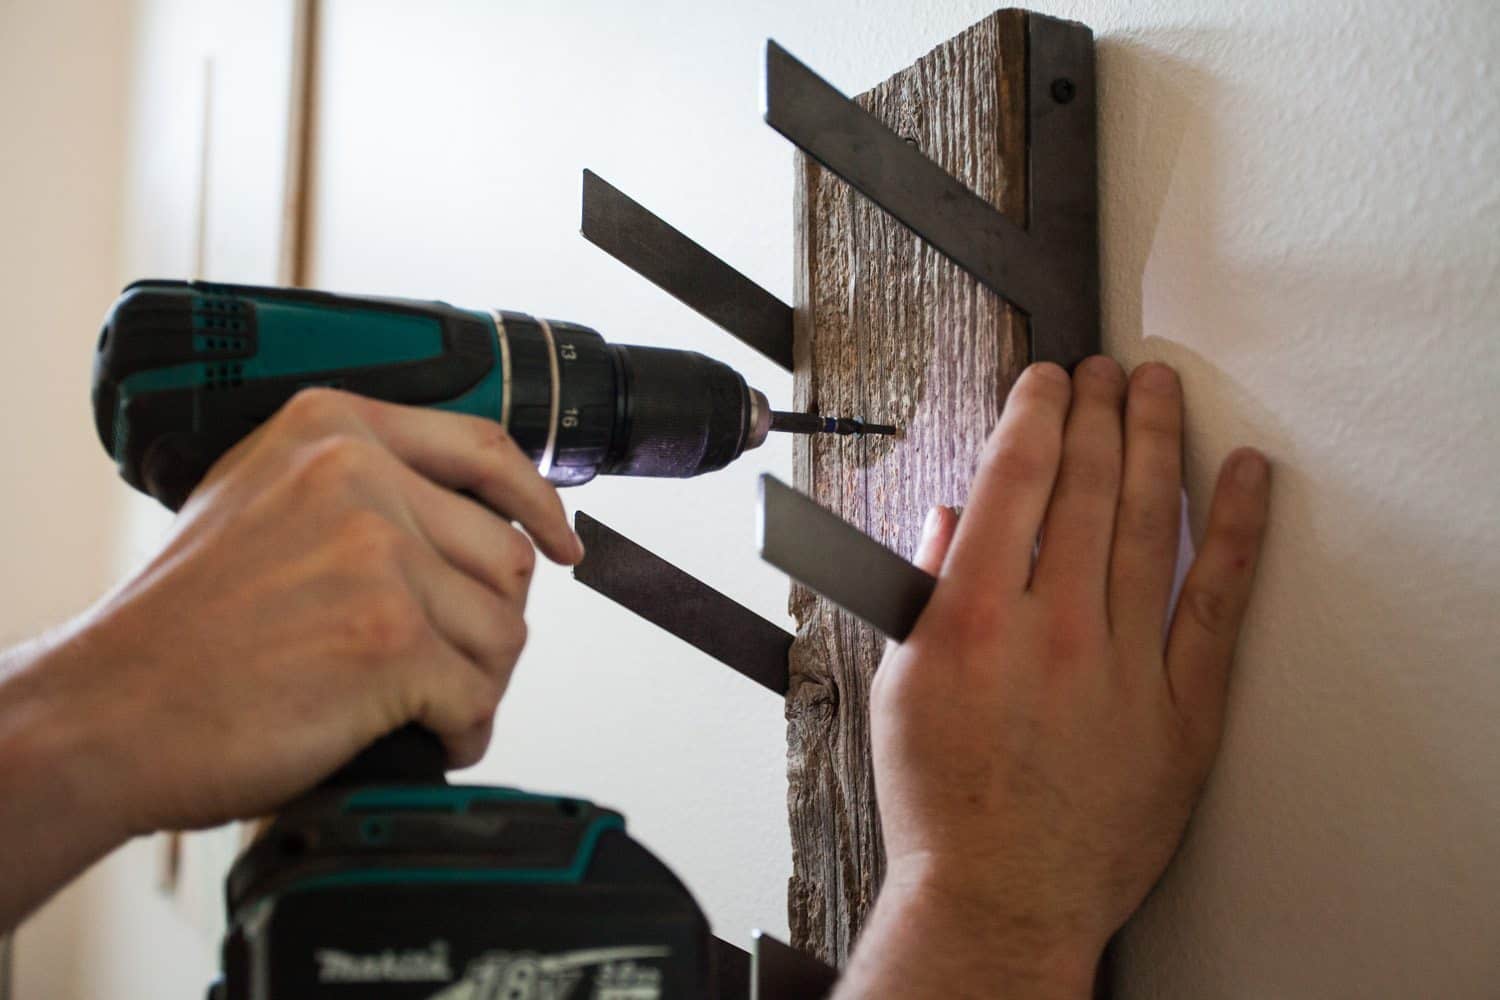
INSTALL STEP 2:
Pre drill the hole using a drill bit that is slightly smaller than the screw you intend to use to hang the wine rack. Repeat this step to pre-drill a second hole at your mark from the previous step.
INSTALL STEP 3:
Next we used our stud finder to mark the location of the stud that is going to support the weight of our wine rack.
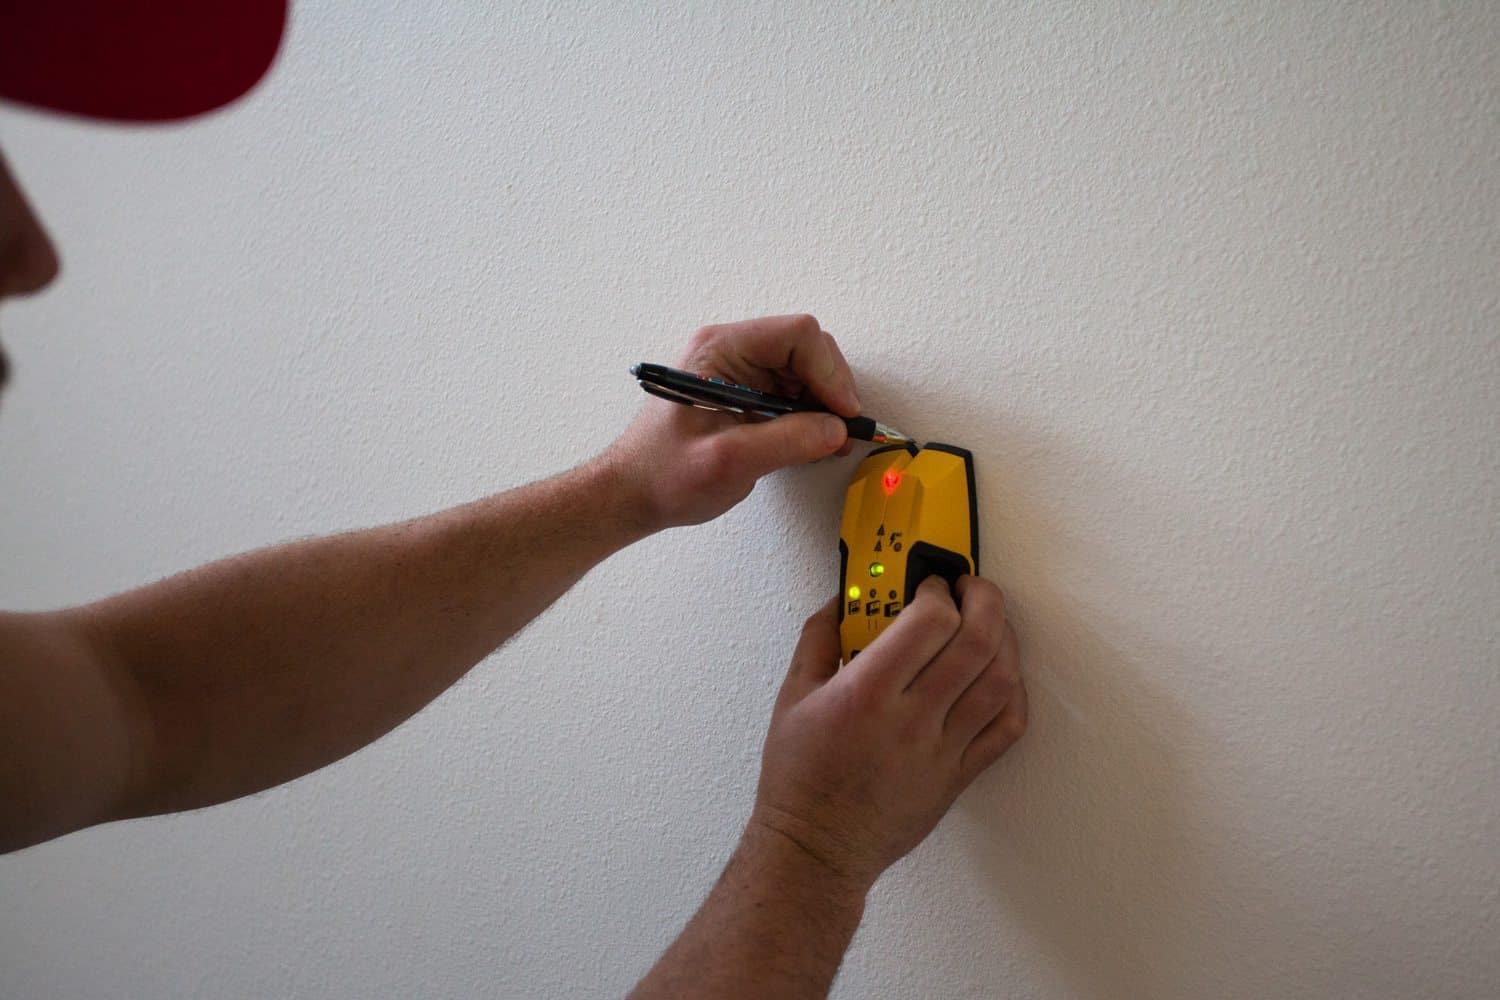
*We highly recommend locating a stud to support your wine rack. If a stud is not an option, you MUST use heavy duty sheetrock anchors.
INSTALL STEP 4:
Get your mounting screw started in the top pre-drilled hole.
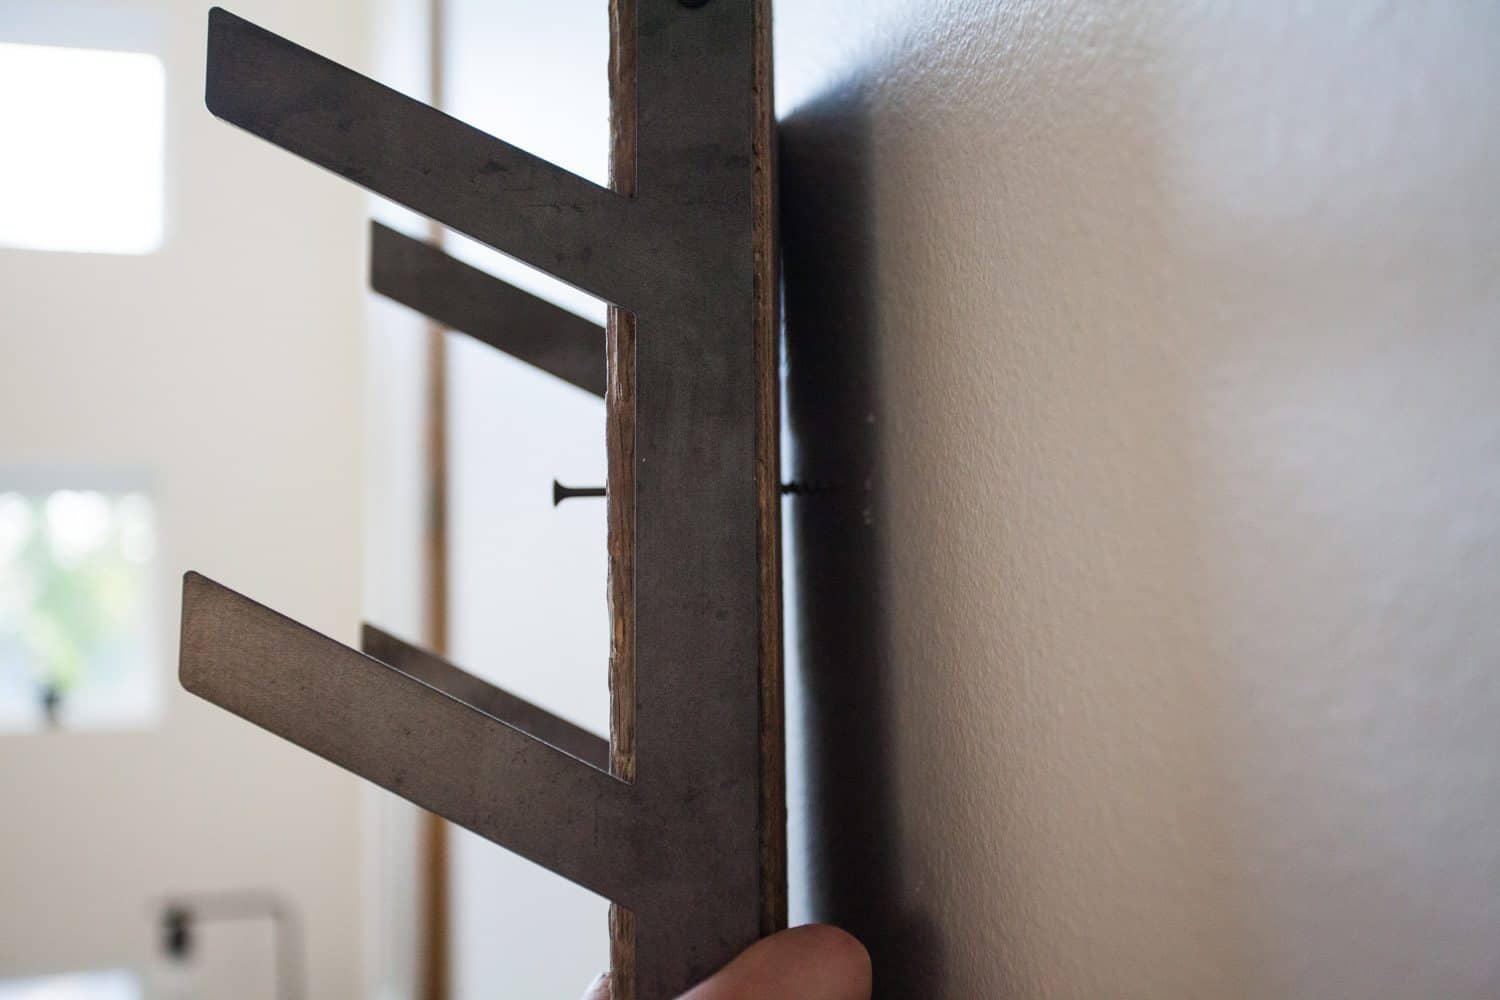
Grain Designs Quick Tip: To ensure the screw will be going directly into the center of the stud, we chose to drill the screw all the way through the wood and line up the screw with your previously marked stud.
Using the Phillips drill bit and one of the mounting fasteners, finish screwing the top fastener into the wall
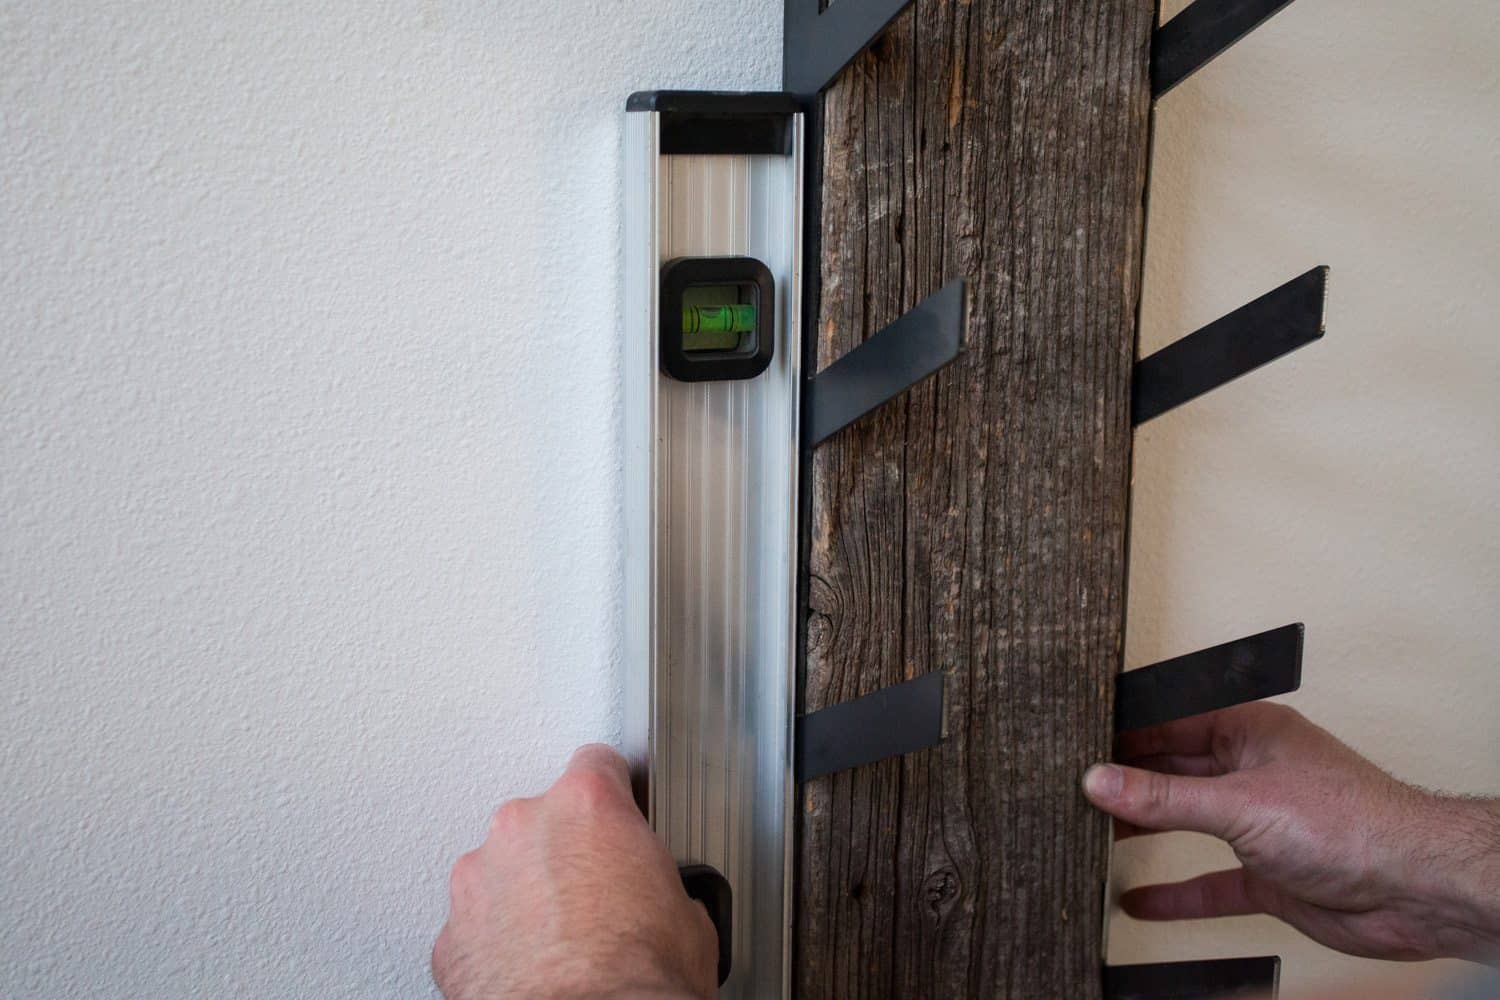
Place a level on the vertical face of the wine rack to make sure it is sitting square then drill the second mounting fastener into the bottom of the wine rack.
INSTALL STEP 6:
The final step is the put your newly created wine rack to use. Accessorize with your favorite wine to create a one-of-a-kind piece of functional décor for your home.
Thanks for following along and I hope you enjoyed your Build Your Own wine rack experience. If you haven’t purchased your wine rack kit yet, they are available at the Grain Designs online store! Stay tuned to our blog and social media outlets for more B.Y.O. product announcements in the future!